
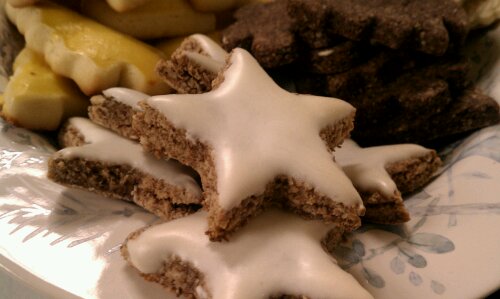
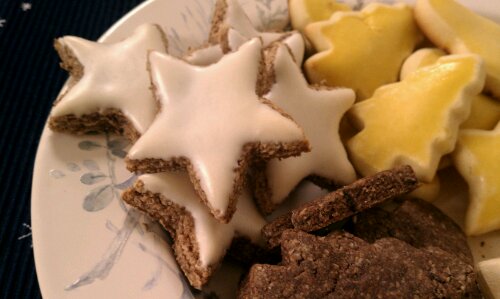
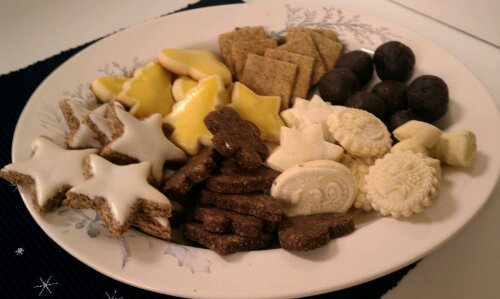
Zimtstärnli – ‘Cinnamon Stars’ – Swiss Christmas Cookies
Another one of my all time favorites are the Zimtstärnli (meaning little cinnamon stars). Besides being super yummy, and they are really not all that hard to make, I think the fact that they are grain free, gluten free and the only fat they contain is from the ground almonds doesn’t hurt either, plus cinnamon has been shown to have blood sugar lowering properties.
Yes, these are cut outs again. And you could really make them any shape you like. You’ll just have to call them cinnamon elephants or whatever 😉 Traditionally rolled out on granulated sugar instead of flour, I suggest you use more ground almonds instead.
Please be aware that most confectioners sugar contains corn starch.
These really should be made in every American household, just look at what they look like!

Ingredients
- 3 egg whites
- 1 pinch salt
- 2 1/2/ cups confectioners sugar
- 1 1/2 tbsp cinnamon
- 1 tbsp Kirsch (optional, you could leave it out or use lemon juice instead)
- 3 1/2 cups ground almonds (almond flour)
Directions
- Preheat oven to 480°F
- In a large clean bowl, beat egg white with a pinch of salt until stiff peaks form.
- Carefully fold in the sugar. Set aside a 1/4 cup plus 3 tbsp ( a scant 1/2 cup) of the mixture, reserve
- Carefully fold almonds, Kirsch (if using) and cinnamon under the rest of the egg white mixture. Form to dough and place in the fridge. Chill for at least 3 hours.
- Roll out about 1/4″ thick on more ground almonds/almond flour. Then make cookies using star shaped cookie cutter, place on lines baking sheet and brush with a layer of the reserved egg white glaze.
- Bake 5-6 minutes with a wooden spatula in the door of the oven to keep the door cracked and prevent it from closing all the way. This is helping in keeping the tops of the cookies white. (They are perfectly done when the bottom is slightly golden brown but the tops stay a pristine white)
- Cool on the cookie sheet for a few minutes before removing to cooling rack.
Check out the post on more Swiss Christmas Cookies to try other varieties
Copyright © 2011 Simple Healthy Homemade. All rights reserved


 Hazelnut Squares


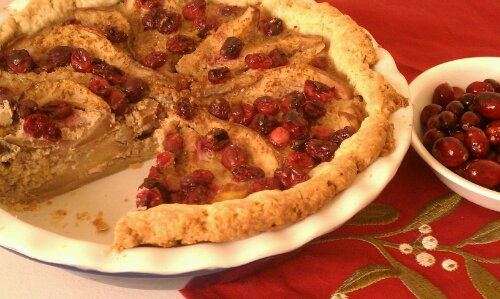
 Fresh in the oven
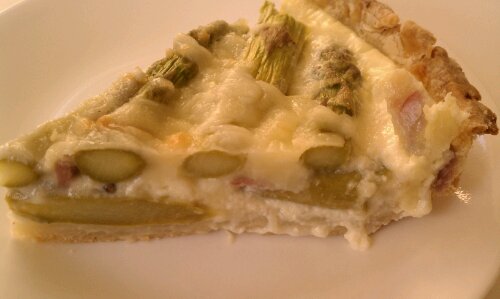
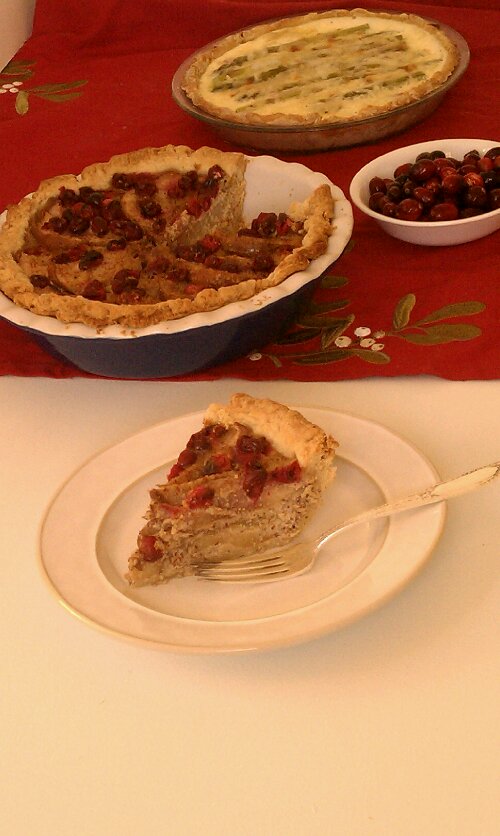 and that’s light Asparagus Quiche in the background


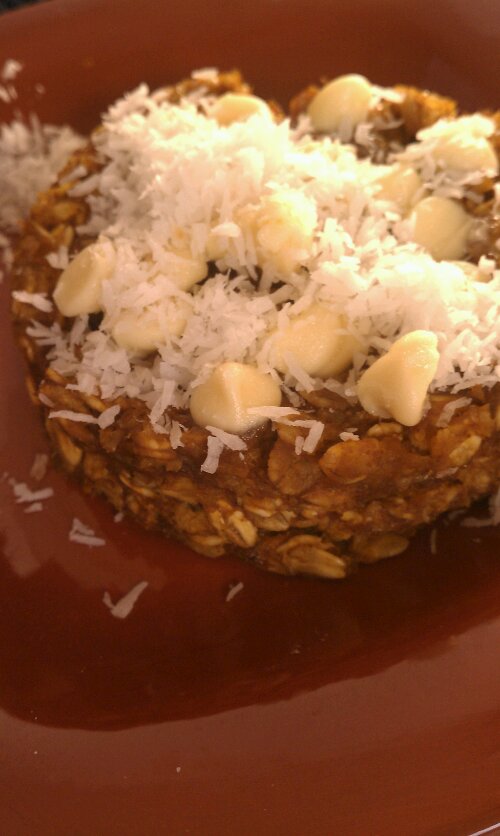
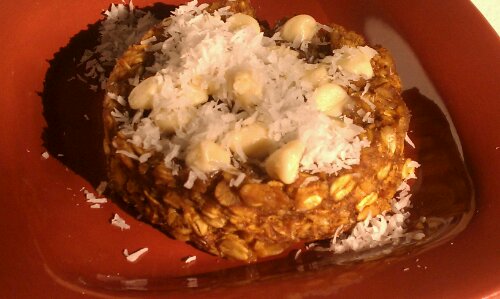 Pumpkin White Chocolate version here shown made with rolled oats…
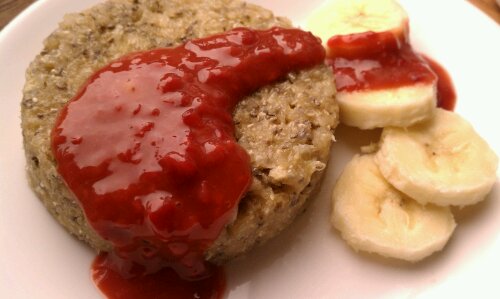 and Tropical Mango version with Raspberry Mango Sauce, shown made with Quinoa (I know, it looks like Ketchup; Trust me it tastes TOTALLY different!)