Reena’s Amba Ma Smoothie

image

Version 1: Pineapple-Cantaloupe-Raspberry

During  the fall months, there is a particular Hindu Holiday ‘Navaratri’ during which believers perform several rituals and practice fasting. It lasts 9 nights and is devoted solely to the Mother Goddess — known regionally as Durga, Bhavani, Amba, Chandika, Gauri, Parvati, Mahishasuramardini…

File:Durgas.jpg

The story goes: After one of the Gods (Brahma) gave the demon Mahish the power not to be destroyed by man (including male Gods) because of doing a good deed for Brahma, Mahish started to cause all sorts of terror. So, the 3 forms of God, Brahma (birth or creation), Vishnu (life or preservation) and Shiva (death or destruction) combined their energies and powers and created a female form of God (Devi or Durga) to destroy the demon, (since no man could vanquish him). She represents the furious powers of all the male gods, and is the ferocious protector of the righteous, and destroyer of the evil. Durga is usually portrayed as riding a lion, and carrying weapons in her many arms.

I’ve also heard “Durga” means ‘invincible‘ and she is the personification of ‘shakti’ or divine feminine force!

Goddess of Victory of Good over Evil

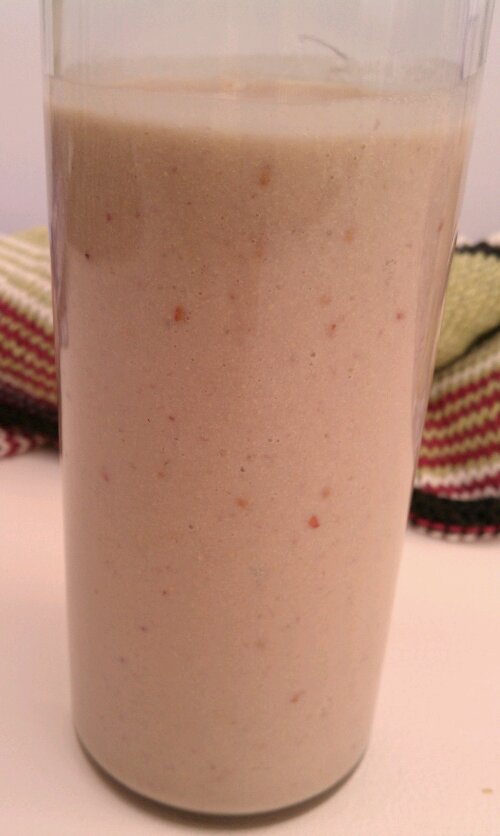
For the fasting part of the ritual, nothing except Milk, nuts and fruit can be eaten during the day. And so I created this yummy smoothie in order to take advantage of all the goodness that’s to be had from milk, nuts and fruits
image

Ingredients

  • 1 cup milk (that can be almond milk or dairy milk**, your choice)
  • 1 tbsp almond butter (or other nut butter: remember peanuts aren’t really nuts)
  • 1 really ripe banana
  • 1 cup pineapple(fresh or frozen)*
  • 1 cup cantaloupe or mango pieces (fresh or frozen)*
  • 1-2 tbsp raspberries or strawberries (optional)

* Make sure that one of these is frozen. If it is still hot outside, both may be frozen or you could add some ice cubes before blending.

** If using dairy milk, the recipe is no longer dairy free or vegan

Directions

  1. Put all ingredients in the blender, starting with the banana, add fruit, then the almond butter on top and pour the liquid over top.
  2. Blend until smooth.
  3. Enjoy or pack in a cooler or lunchbox and take to work to have throughout the day.

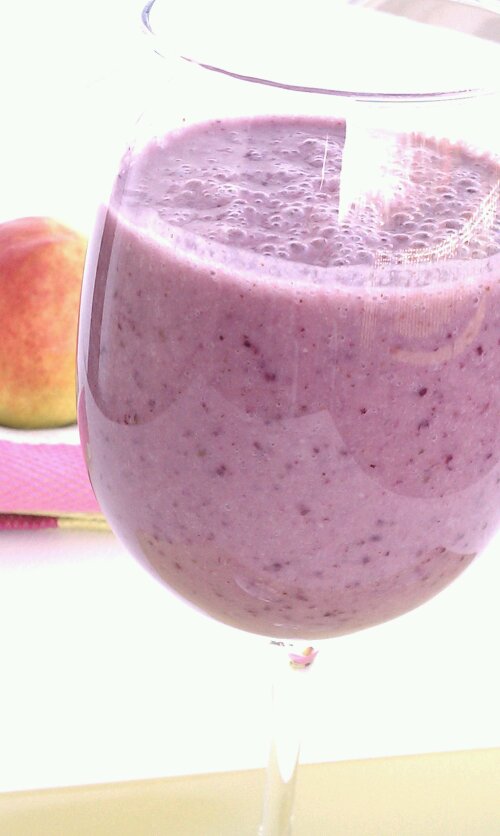
Version 2: with Blueberries…

Ingredients, Version 2

  • 1 cup milk (that can be almond milk or dairy milk**, your choice)
  • 1 tbsp almond butter (or other nut butter: remember peanuts aren’t really nuts)
  • 2 really ripe banana
  • 1/4 cup blueberries (fresh or frozen)*
  • 1 cup peaches or pineapple (fresh or frozen)*

* Make sure that one of these is frozen. If it is still hot outside, both may be frozen or you could add some ice cubes before blending.

** If using dairy milk, the recipe is no longer dairy free or vegan

image

Directions

  1. Put all ingredients in the blender, starting with the banana, add fruit, then the almond butter on top and pour the liquid over top.
  2. Blend until smooth.
  3. Enjoy or pack in a cooler or lunchbox and take to work to have throughout the day.

And here’s a great thing to do with any leftover smoothie:

Pour into popsicle molds (or any small paper or plastic cups and add one of those wooden sticks they sell at craft stores) and freeze for a sugar free treat later.

Copyright © 2011 Simple Healthy Homemade. All rights reserved.

‘Summer in a Jar’ (Canned European Plum Compote)

image

On Saturday we spend part of the day rummaging and discovering our way through a local antique place. I got some great deals on glass custard dishes, and a couple of old glass bottles we’ll be using to store my home made salad dressing (like the Greek Feta Buttermilk Dressing). It was rainy and the the temperature was steadily dropping, so being inside for several hours looking through old kitchen and household items, books and furniture was fun!

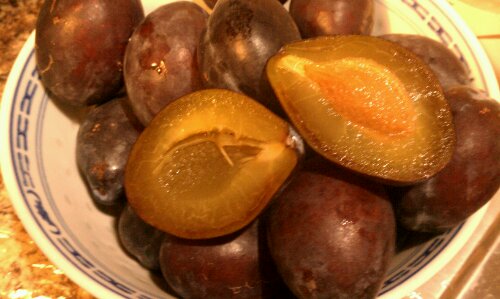
The trees behind my house are changing color, the first touches of fall, the first signs of frost (it only went down to 37 at my house, yipee!), and I have to come to terms with the fact that summer is definitely, absolutely over. No more denial. It’s FALL! Don’t get me wrong I LOVE fall, it’s just I really, really, REALLY liked summer this year and it’s hard to let go of something dear. In order to be able to take advantage of end of summer, super ripe, bursting with flavor European plums (aka prune plums, they are the smaller, oval purple/blue ones, that look a bit hazed over vs shiny) for a little while longer, I decided to cook them up into a compote, that can be used on Crêpes, pancakes or eaten as s desert (cold or warmed up) with some whipped cream or stir into greek yogurt as a treat!

or over cottage cheese…

If you live near an Italian or even Russian Market, you might have an easier time finding this old world favorite as not all stores are carrying them in our area and the seasonal availability is limited to a short window of opportunity. At my parents garden in Switzerland they would usually ripen sometime in late August or early September.

image

Today, after having found a nice (hopefully not quite yet) last batch at the farmers market, Now let’s see if we can make that preserving magic happen, for when fall or winter really hits and we are all longing for something that tastes of SUMMER!

Ingredients

  • 5 cups prune plums, halved, pitted (or 4 cups plums and 1 cup apple)
  • 1 -3 tbsp sucanat/rapadura*, raw sugar or other real sweetener of choice
  • 1 1/2 cups water
  • 1 tbsp lemon juice
  • 1/2 tsp cinnamon
  • 1/2 tsp vanilla
  • 1 tbsp tapioca
  • 3 pint canning jars and lids, bands, washed in the dishwasher
  • 21 qt water bath canner with canning rack
  • small sauce pan with boiling water ( to sterilize lids)

Directions

  • Prep the canner: fill with required amount of hot water and bring to a simmer. Heat water in small sauce pan, add the lids to it and bring to a simmer.
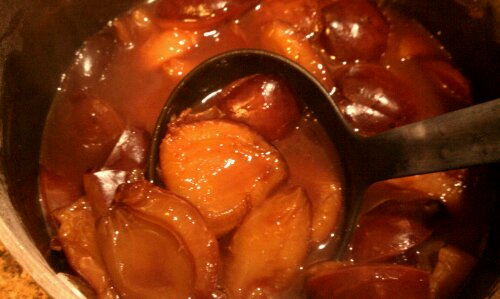
  • In a medium sauce pan, combine the plums with the rest of the ingredients above and bring to a gentle simmer, stirring occasionally . Keep at a simmer of 5 minutes, then remove from heat, cover and set aside.

image

    • If your jars are still hot (they juts came out of the dishwasher) sit them on a kitchen towel and fill one at a time with the compote, using a ladle and a canning funnel, leaving a 1/2″ head space (If they are cold, heat them submerged in the canner, in order to prevent them from breaking from the quick temperature change)
    • Wipe rim with clean paper towel, so not compote or juice clings to the top, then center one of the prepares lids on top, then tighten band (not too much, juts fingertip tight) with your fingertips only! When all the jars are filled and lidded (is that a word?), place them on the canning rack an lower into your canner, making sure all jars are covered by 1″ of water.

image

  • Bring the water in the canner to a boil and process for 30 minutes, adjusting for altitude
  • When time is up, turn off heat and leave them in the water bath for another 5 minutes, then lifting the rack up an hooking it to the sides of the pot, remove the jars gently (don’t shake or tighten or anything) place on a kitchen towel to cool off completely.
  • check in 24 h if the seal is secure (Lid does not flex up and down when pressed in the middle) place any not properly sealed jars in the fridge and eat quickly (just the content, please)
  • Label and store, or gift 🙂
Copyright © 2011 Simple Healthy Homemade. All rights reserved.

Zucchini Griddle Cakes or Latkes

image

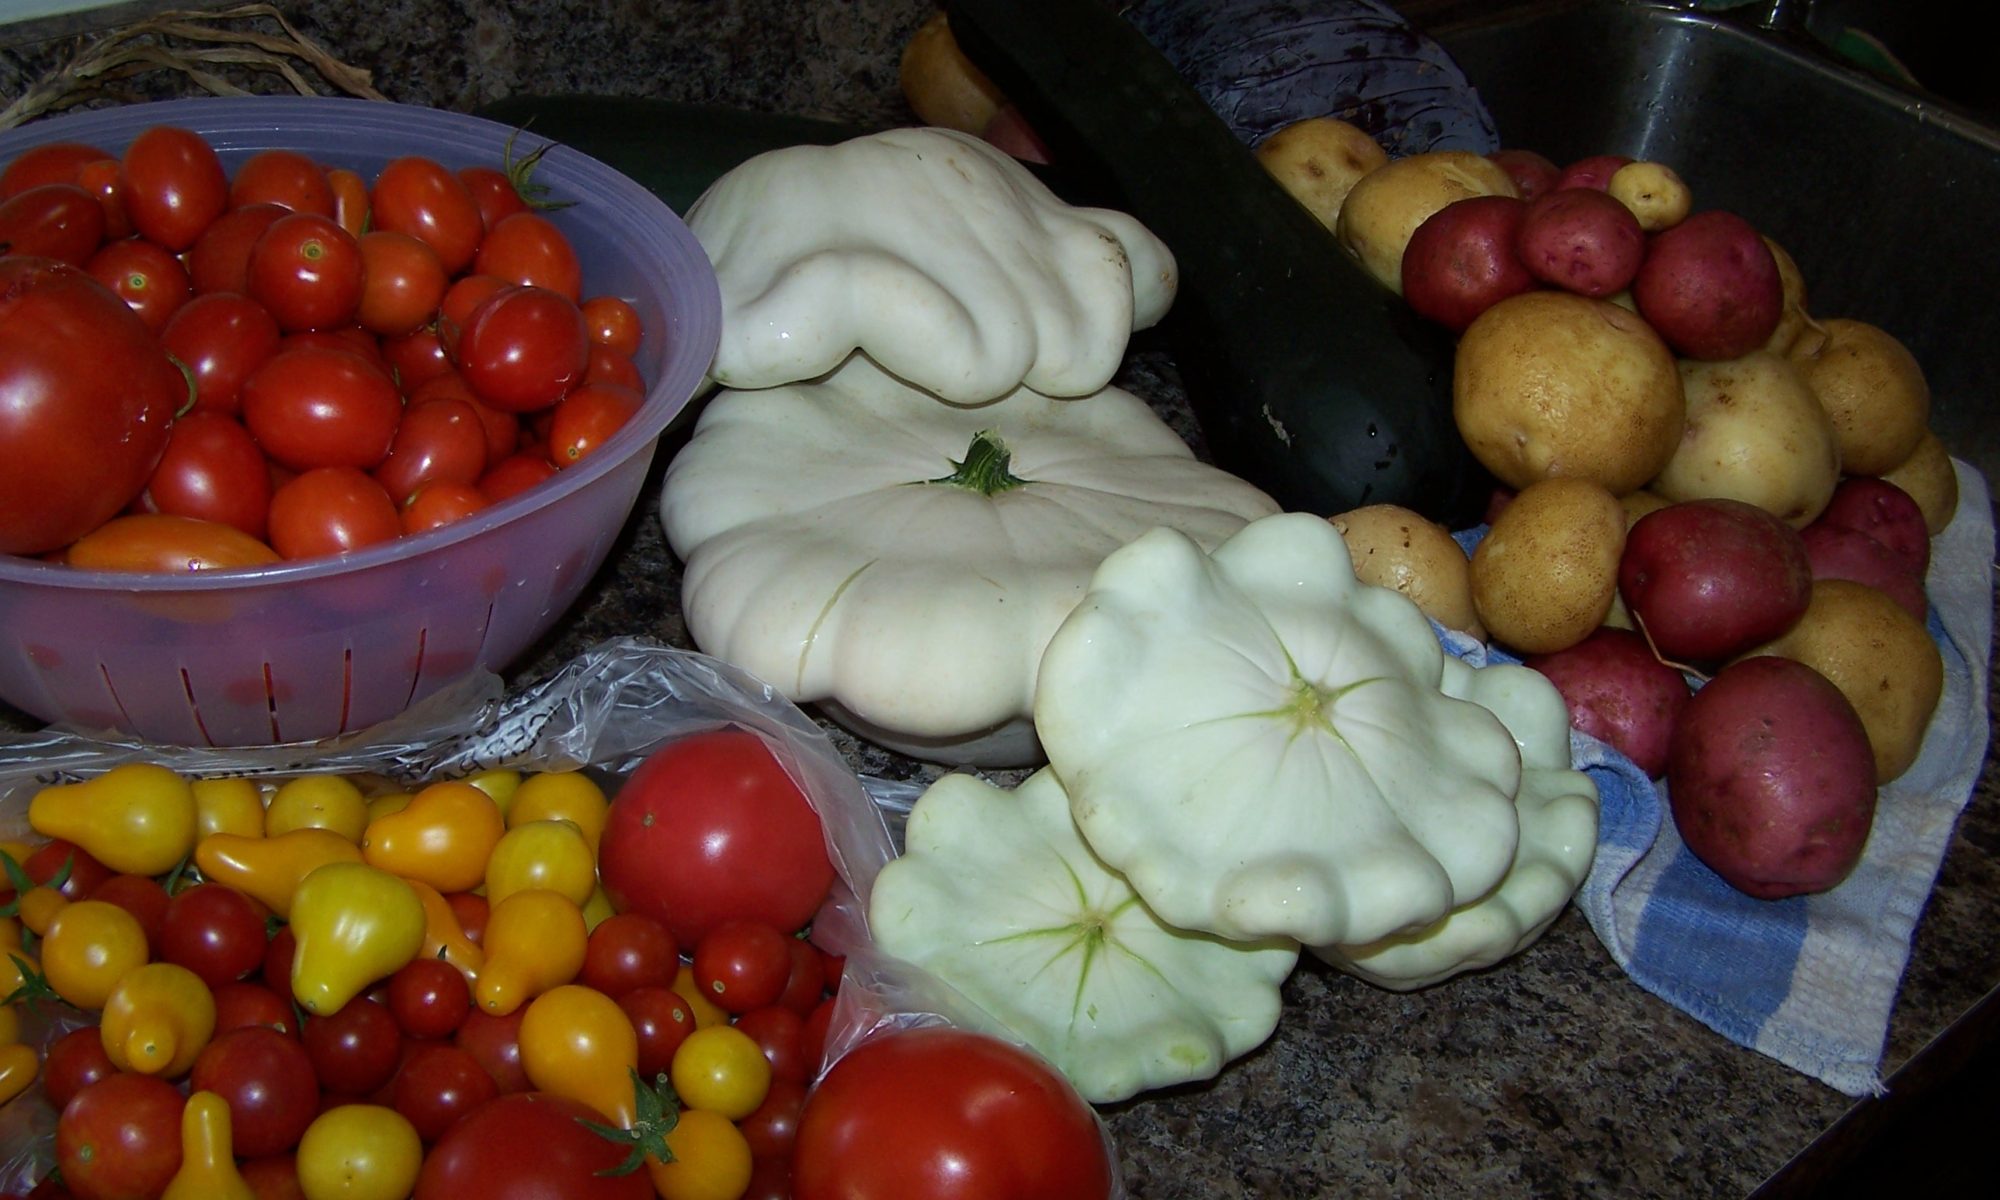
We all know someone who’s over productive zucchini plant fed the whole neighborhood.
One year, the seed company had messed up, and the Charantais Melon seeds turned into zucchini plants… And unfortunately for us ( and our relatives and neighbors) that was in addition to the 3 zucchini plants my parents purposefully planted. In their defense, this was when zucchini were still a fairly new thing to grow for the home gardener in my area.
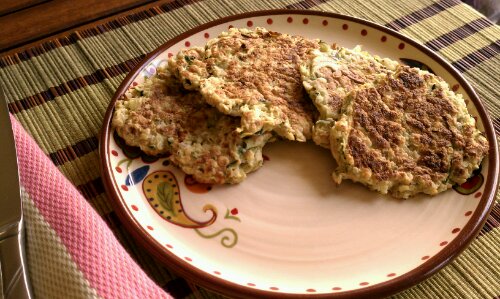
We had zucchini steamed, filled, grilled, stewed, we gave a way zucchini, and after we could no longer get excitement out of people, we left them on their door step and tip toed away… We learned, after having 6 plants that summer… Have since never had more than 1 maybe 2 plants. I could not eat or smell zucchini for literally years. Thank goodness, I have since then recovered from my zucchini overdose and can happily eat it again. And here is one of my fun new ways of using up that bounty of summer, or since now it is early fall, maybe just conjure up that a last feeling of sun kissed earth!
image

Ingredients

  • 2 cups shredded zucchini
  • 1/2 cup Quinoa flakes
  • 2 Eggs, beaten (or for began option: flax seed ‘egg’ = 1tbsp ground flax seed, 3 tblsp water, let sit 3 minutes)
  • 2-3 tbsp chopped Onion
  • 1 tbsp chia seed (optional)
  • 1/2 tsp salt

image

Make them!

  1. Mix zucchini, onion and beaten eggs until combined.
  2. Add quinoa flakes, chia seed and salt, stir to incoropate.
  3. Drop by the heaped tablespoon into a heated skillet, flatten out each blob (yep, that’s a scientific term) to 1/4″ thickness.
  4. Cook until golden brown, flip over adding more olive or coconut oil to the pan, as needed.

They can also be baked instead.
Heat oven to 375 F and cook about 8 minutes per side.

Makes about 8. Serve them as a side or a savory breakfast.

Hmm, maybe I will try the rest with salsa…
image

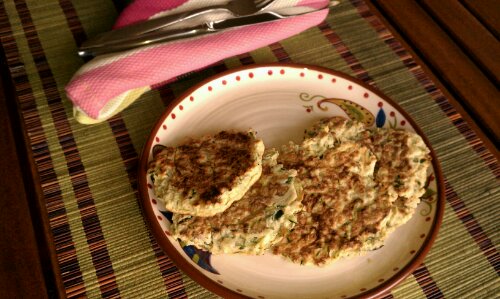
They are light and I almost want to say fluffy, and the pictures DO NOT do them justice…

Copyright © 2011 Simple Healthy Homemade. All rights reserved.

Bootcamp SPINACH Omelette-Frittata aka Green Eggs…

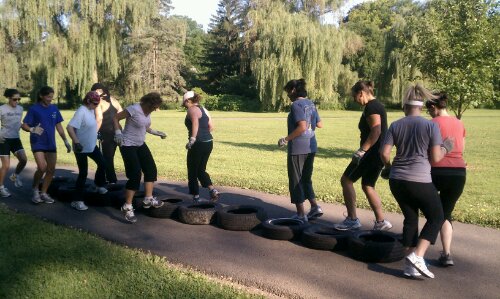
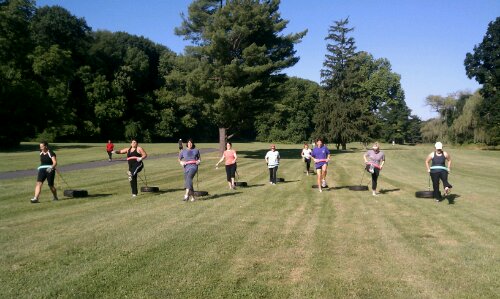
At my early morning Bootcamp I always emphasize how important nutrition is, and how especially important it is to fuel your body properly after a hard workout.

image

No matter if you are looking to drop body fat percentage or trying to increase endurance or strength. And as a post workout (and weight loss) option, I love spinach frittata, no let me correct that, SPINACH frittata. More like: Spinach with Omelette, speak: lot’s of spinach

image

This one’s called ‘Green Eggs’ for a reason. Plenty of protein for breakfast will keep you full longer and the healthy carbs from the spinach, let alone all the other super green nutrients in there are going to fuel you right! It’s simple, just three ingredients and you can omelet or frittata it. Depending on your mood, there are a couple of different ways to make it:

First off the ingredients though

Serves 2

  • 2-3 packed hands full of baby spinach,
  • 5 eggs ( or 8 egg whites)
  • 1 piece (about 1/2″ x 4″ x 1″ ) Feta cheese, cut into chunks
  • 1 tblsp Coconut oil (or oil of choice) for cooking

image

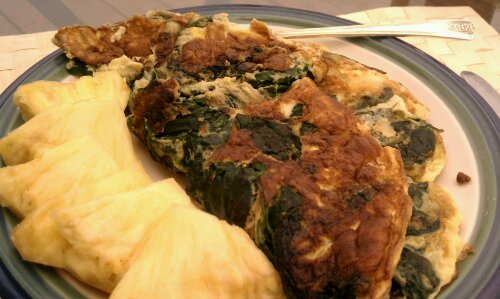
Here served with fresh pineapple (the enzymes found in fresh pineapple help break protein down quickly, making it more readily available for your body to use)

Directions

  1. Heat coconut oil in skillet on medium, and swirl to coat
  2. Add the spinach and let crackle and cook until some of it starts to wilt.
  3. In the meantime, scramble the eggs/egg whites in a bowl, beating with a fork or whisk until mixed and bubbly
  4. Pour eggs into pan, ‘wiggle’ the spinach a bit with a fork so the eggs can get underneath the spinach lumps.
  5. Distribute the feta cheese over top and cook until eggs are set:
  6. Once the eggs are in you can:
  • A) stick the skillet in the oven, preheated to 350 F or under the broiler ( make sure you are using a heat proof skillet, and DON’T touch the handle, no matter what, it’s very tempting, best to put a potholder over it, trust me I tried…)
  • B) flip the Omelet over or fold in half, cooking until set or crispy brown, depending on how you like it.

Just remember, only HALF of this is YOUR serving.

image

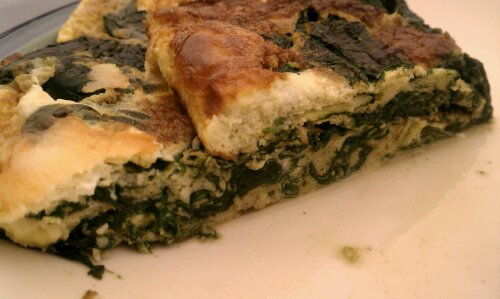
I make “frittata-omelets”: browned and crisp!

image

Did I mention, lots of spinach?

image
After this, you’re ready for some good eats!

Copyright © 2011 Simple Healthy Homemade. All rights reserved.

Rainy Day Banana Pancakes (Egg Free)

So last weekend it was gray and rainy outside and I was cleaning the house, (not my favorite chore, it’s so unsatisfying, don’t you think? As soon as you’re done, you gotta start all over) listening to music is a good option to make it more fun, right? Well, my Ipod played “Banana Pancakes” by Jack Johnson.

Take a listen: Amazon.com: Banana Pancakes: Jack Johnson: MP3 Downloads.

It made me hungry, it made we want to have some, right then and there. I could smell them… So on the list for Saturday Breakfast they go 🙂 As I happily, pj’s and all, was ready to start the project: NO EGGS. What to do now? Option A: get changed and go to the store, option B: figure out how to make it without. It’s Saturday and I really don’t want to face the world, the rain is pouring down here in PA (probably some other leftover part of another tropical storm?) so I went about my quest for egg-less pancakes. There’s a German saying: Not macht erfinderisch (transl: Need makes one inventive 😉

image

I could have used Bananas as a topping, but there were these peaches on my counter, waiting to be eaten.

A dollop of greek yogurt…

image
… and a drizzle of maple syrup
Success!

Turns out it’s not the eggs at all that make the pancakes fluffy and light, but the baking powder/soda. Good to know

image

Ingredients:

  • 1/2  cup whole wheat pastry flour
  • 1/2 cup oat flour
  • 1 cup (non dairy) milk ( I used almond milk, unsweetened)*
  • 1 tsp baking powder
  • 1/2 tsp baking soda
  • 1 tblsp (coconut) oil
  • 1 tblsp suconat, or sugar, honey (optional)
  • 1/2 ripe banana, mashed
Mix the dry ingredients, then stir in the milk, oil and banana.  Moisten a paper towel with some oil, wipe the skillet, heat, and add the pancake batter by the 1/4 cup full. Flip over when bubbles appear on the surface.
Serve with:
-Sliced ripe peaches, greek yogurt, and maple syrup
-Banana and caramelized pecans
Serves 2, (Makes 6-7 pancakes)
* you can also use buttermilk, or coconut milk, make sure you stir/shake the can well and since it’s thicker, you may need to spread out the pancakes a bit while they start cooking.  I use oat flour, I like the bit nutty flavor it gives the pancakes. Enjoy!
What kind of substitutes in needy time have you had success with?
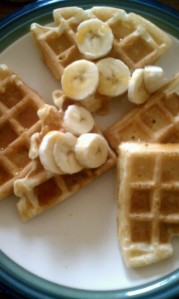
                          You can also make waffles …
And the best part? Make the whole recipe, or double and keep the extras individually wrapped in the freezer, pop in the toaster oven until yummy! for those morning when you have no time…
Copyright © 2011 Simple Healthy Homemade. All rights reserved.

If you can’t make it yourself…

garden bounty

Lately I have found myself sucked into the computer and browsing food and recipe blogs for hours on end (…in my defense, it was rainy all week end). Sorting my thoughts on how to go about writing this cookbook I have been thinking about for some time now was my excuse for the countless hour leaking into the internet. Until it dawned on me, that maybe starting a blog about cooking (I love food), making healthy food choices and meals (I am a personal trainer and sports nutritionist) might be a good place to start sorting and organizing all the recipes (or new ones, no need to look back, right?) that in the past have lived in a 0.99 cent compositions book . And I have lots of them, notebooks with recipes that is.

I remember creating this recipe for a layered chocolate heart when I was a little girl back in  Switzerland, and how exited I was when I showed my Mom (Looking back she seemed a bit more concerned with the sticky mess I may have left behind in the kitchen, than exited about my ‘creation’, lol)

I love to make everything from scratch, because, it just plain tastes better and is better for you. If you can’t make it yourself, don’t eat it. I am not saying that I always make everything myself, but I will stay away from things I could not make, even if I had the right tools and would put all the effort into it. I have tried to make everything from sushi rolls to goat cheese to gluten free baked goods, just to see if I can do it (…and I am a very curious person and how stuff is made intrigues me), but more on that another time.

I believe healthy food should be flavorful, super yummy and not leave your wallet empty!

Welcome to      Simple. Healthy. Homemade!

🙂 Simone


Copyright © 2011 Simple Healthy Homemade. All rights reserved.