


Here shown with chocolate drizzles…
I was reorganizing my kitchen cabinets the other day, (can you associate with this?) and found that the recesses of the cabinet used as pantry hold much more than can be readily found by me on any given day. Some needed to be tossed 🙁 had been lost in the depths too long, there were things I didn’t know I had anymore but had been looking for and then of course there are the quadruplicates , I mean, duplicates.
Several (open) bags of extra dark chocolate chips, about 4 different ‘grinds’ of unsweetened coconut, all opened too, of course, and several jars with 3 or 4 tablespoons of honey or brown rice syrup were retrieved from the depths of my cabinet. I did promise myself to not get so ahead of myself again, let’s see if it holds next time I face a sale at the store…
So after my botched attempt at making coconut butter (I think the very fine Indian store coconut I had, was a just a bit too dry) I came up with plan B, and a fine plan it turned out to be. My boyfriend who is training to run the NY City Marathon this year, swears it’s those bars that made him finish the last couple of 15 mile training runs with ease. He swears they gave him super-powers, hence the name, they previously were ‘just’ power bars 🙂 And I’ll let you in on a secret, he doesn’t even like coconut ;P but if you bake it until the bars get brown, careful it’s right before the ‘too much’ stage, the coconut gets a taste similar to dark chocolate, add a handful of morsels and the deal is fixed. Just to calm your conscience, yes, he does know there’s coconut in there.

Vegan, gluten free and grain free and if you don’t count the coconut as nut (they really are considered one of the largest seeds, or technically a drupe, says Wiki) it’s nut free as well 🙂 Oh and don’t forget the power of the sprouted lentils.
 See the little sprout poking out? And I think I spot a lentil too…
And please don’t be discouraged by the seemingly long ingredient list, it is totally worth making and there really isn’t that much effort required.
Since the sprouting takes some time, you want to start this several days before you want to make the bars. In the summer it only takes 2 days in my kitchen, but in the colder months, it could be three or four. Or if your kitchen is highly air-conditioned

Ingredients
- 4 cups finely shredded unsweetened coconut
- 3/4 cups red lentils, sprouted, divided (makes about 2-2 1/2 cups sprouted)
- 3/4 cups date pieces
- 1/2 cup brown rice syrup
- 1/2 cup tapioca flour*
- 1/2 cup water
- 1 cup rolled oats
- 1/2 cup sunflower seeds
- 1 cup dark chocolate chips (make sure they are vegan or the recipe is not…)
- (optional: 1/2 cup sliced almonds: not nut free anymore, but super yummy)
- 1/4 cup chia seed
- 1/4 cup flax seed meal
- 1 1/2 cups water
- (optional: a handful of chocolate chips to melt and drizzle over top)
*I am sure other gluten free flour would work as well
Directions
- Sprout the lentils until the little shoot is about 1/2″ to 3/4″ long (more details on sprouting here), reserve 1 cup,

- Preheat oven to 350ºF
- Mix the chia seed and the flax seed meal in a medium bowl with 1 1/2 cups water, set aside for 10 minutes
- Blend the coconut and dates until finely mixed, then add all but the reserved 1 cup of lentils, blend until you have a sticky mass (or mess)
- Add the chia mix and the brown rice syrup, pulse until mixed in
- In a large bowl, combine tapioca flour and 1/2 cup water, the reserved sprouted lentils, and scrape the mixture from the blender into it, stir until incorporated.
- Add the oats, sunflower seeds, chocolate chips (and almonds if using) and evenly spread on a silicon mat lined baking sheet (Make sure you use a baking sheet with sides)
- Bake in the 350ºF oven for 45 minutes to 1 hour. Or until nicely browned. Remove from oven, let cool for about 1 hour then cut into bars. Spread the bars onto two (2) baking sheets, preheat the oven to 250ºF and bake for an additional hour, I sheet on the lower rack, the other on top, switching position after half an hour. This step is more to firm up the bars and kinda make them drier and more portable.
- Cool on wire rack and enjoy! I store mine in the freezer so I can just grab a couple at a time.

© 2012 SimpleHealthyHomemade


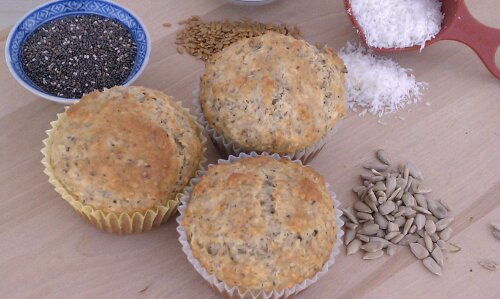
 unbaked…
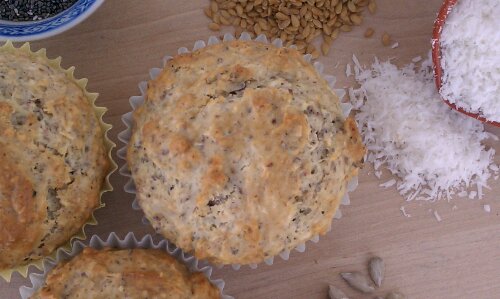 …baked!