
With Spring arriving so early this year, my egg dyeing project will be so much easier! *dancing around in my kitchen* I remember a few years back, looking for anything that grew already outside, and short of some blades of grass I couldn’t find a thing. 🙁 But this year, even though it’s gotten cold again, I will be able to beautifully decorate my eggs, and naturally too, using items you could eat, well mostly (onion peels, anyone?), but nothing chemical or artificial. The colors we can make are just as beautiful, although not quite as bright or unnatural looking.
For this adventure, you will need some small leaves or flowers from outside. Clover, and fern leaves work well, as do wild violets. What you are looking for is anything small that will lie (mostly) flat, so a round, puffy flower like the pink one in ‘Horton hears a who‘ would not work well. If you are wondering, just what the heck is going on, it will all become clear soon, promise. You will also need some cheap stockings or pantyhose/tights, (or use the ones you were going to throw out, the ones with the toe hole, you know, some string and the ingredients for whatever color you choose to try!
This is how my Mom used to dye eggs with us, when we were little, and gathering the decorations outside is half the fun! And isn’t it awesome that you don’t have to worry about artificial colors getting into your eggs or tummy of your family members? What Easter traditions from when you were little do you remember and cherish?

For the onion skin version you need to first decorate your eggs with the leaves you gathered (Making them a little wet helps the leaves stick better), holding the leaf in place, stretch the tights/pantyhose over the egg, pinning the leaf in place, twist on the opposing side or bottom of the egg (The part where the nylon crimps will not get colored evenly) and tie with some string. If you are using the red beets or the turmeric, hard boil the eggs before then decorate once cooled down.
 All the eggs with stockings on and ready for their bath 😉
The easiest and my favorite first:
Onion Skins = Sienna/Reddish Brown (12 o’clock):
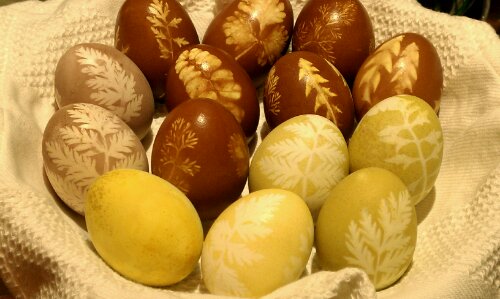
You need about 3 cups of dry onion skins. Surprisingly the red onion skins make pretty much the same color, so it doesn’t seem to matter which ones you use. Next year I will know not to eat red onions for a month to get red onion peels
- To make the dye with onion skins: In a stainless saucepan, place a good 2 cups onions skins and 2 tablespoons of white vinegar in a quart of water and bring to a boil. Lower heat and simmer, covered, for 30 minutes.
- Strain to remove onion skins and discard, and let dye cool to room temperature. (Don’t be fooled by the orange color.)
- In a stainless saucepan, add the cooled strained dye and eggs at room temperature (up to 1 dozen). The eggs should be in one layer and covered by the dye.
- Bring to a boil over medium heat. When boiling, reduce heat, and keep at a simmer for 10 minutes, turn off the heat and let eggs sit in the dye for an additional 2-3 minutes.
- Dyeing time will be affected by the color of the eggs. Start checking for color at 12-15 minutes.
- Remove eggs with a slotted spoon and cool on racks. The remove the stocking and leaves, rinse quickly and dry.
- When they can be handled, you can coat them lightly with olive (or other edible) oil.
- Refrigerate until ready to hide, or eat.
Turmeric = Yellow

Yellow you can get from Turmeric, use 2 tbsp per quart of water, bring to a boil and stir until the turmeric is all dissolved, then add the already hard boiled eggs. Mine did not get as yellow as I have seen this get. But I had tried to make them blue before, using red cabbage (it’s supposed to work) the color however was rather disappointing, more of a very faint barely visible pale sky blue, even after a looooong time in the brew, no real color and no more patience, and off into the yellow they went. Since they were already hard boiled and I did not want them to become, I don’t know, dusty and dry, I made the whole thing less hot and that combined with the faint blue made them a nice juicy yellow with a hint of green. very spring-like 🙂

Red Beets = Dusty Rose/Pinkish Color (on the left)

This one was a tad unsatisfying. You know how beets stain everything staring with your hands, the cutting board and the kitchen back splash if you drop them? Well, I expected a bit more from this one… Instead of boiling the chopped beets in water, I decided that beet juice would be a fantastic substitute, but after 5 hours in the fridge, the eggs still only had a dusty rose color.

The great thing about any of these natural colors is, that even if the egg cracks or the white takes on the color you dyed the egg, it’s perfectly fine to eat, since all the dyes are food material. Egg shells are porous and I am always concerned about the bright chemical colored eggs, and just how much of that might have gotten into the egg?
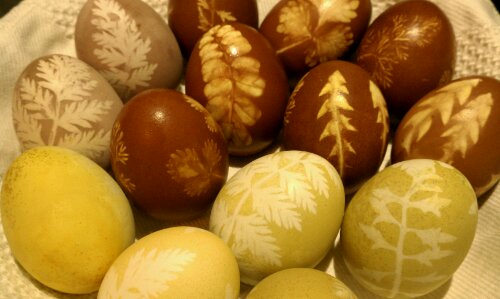
Overall I’d say onion skins give the most vibrant color and the best contrast. The turmeric would have been brighter yellow, had I either boiled the eggs in it ( I might try that next year) or at least had the ‘soup’ real hot to start. I might try the red cabbage again too, even if it is mainly because I don’t like being defeated, by cabbage. Maybe if I let the stuff sit overnight…
Copyright © 2012 Simple Healthy Homemade. All rights reserved


 ← Just to give you an idea, the Mango varieties out there are in the hundreds, if not thousands. Over 500 varieties are known in India, the largest producer of mango in the world.
 Make sure you pack the crumb crust down firmly. Push progressively more as the crust starts to hold together





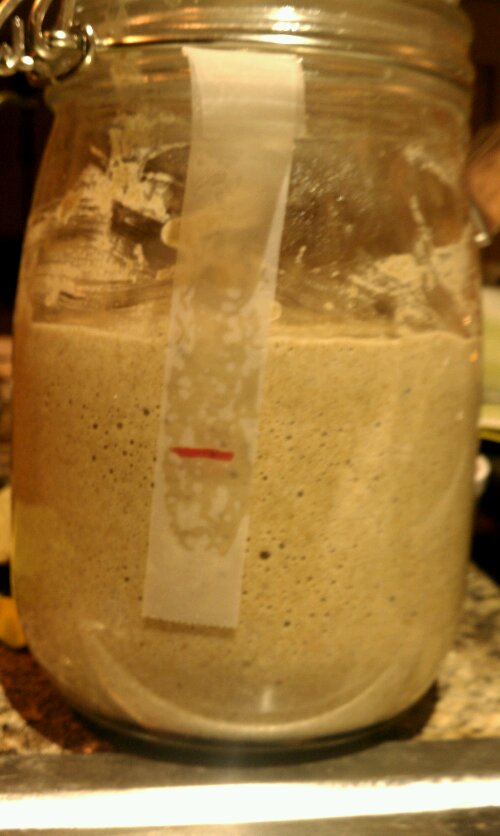
 Active and bubbly!
 Walliser Roggenbrot (in French: Pain au Seigle) with the traditional cracks on the surface. Let’s see how well I will do…
 Because heart-shaped things make me happy 🙂
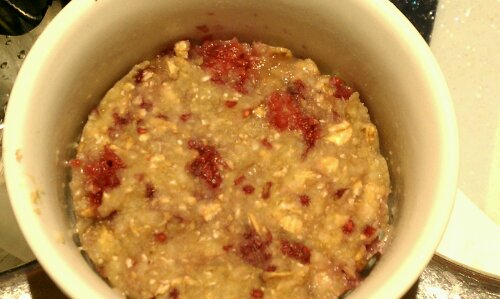


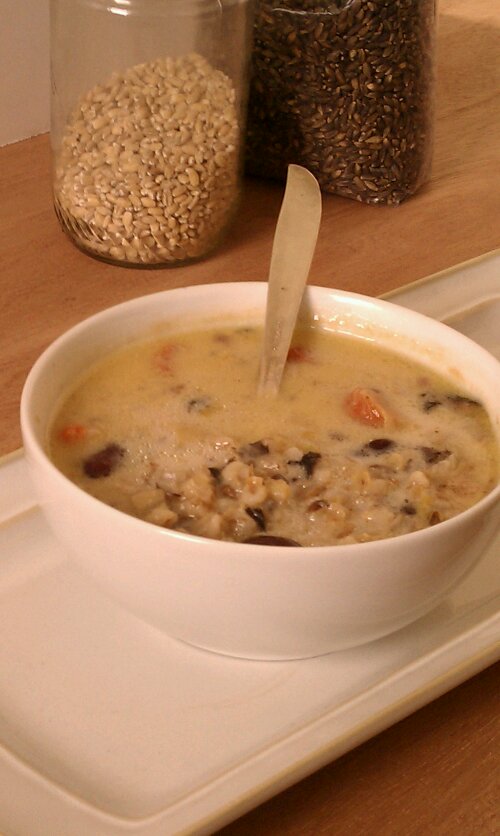
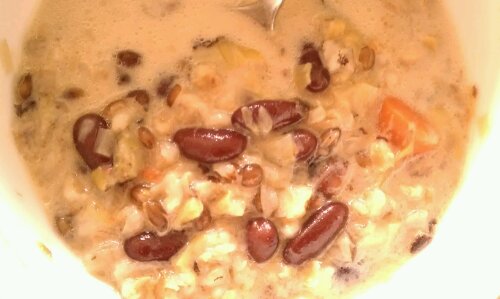
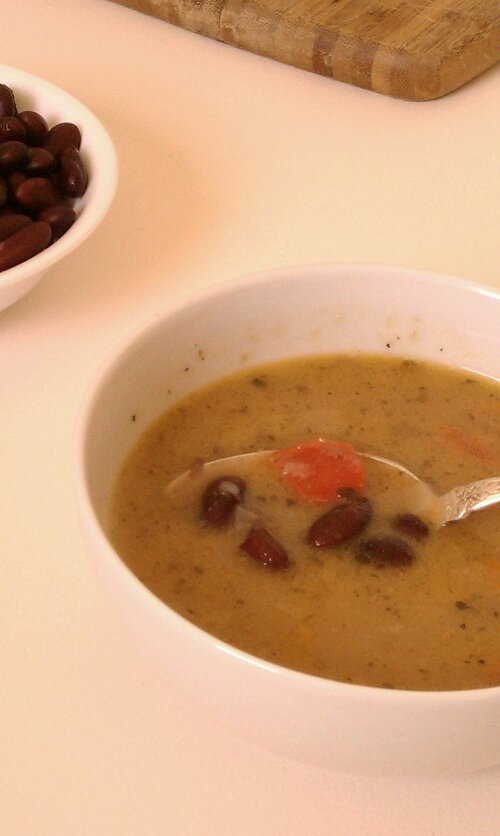 It’s very hard to take pretty soup pictures 🙁 the taste will have to make up for it

 Copyright © 2012 Simple Healthy Homemade. All rights reserved
 Dough rolled out ‘rectangular’, with filling. And roll it up…
 cut with a sharp knife…
 ... twist and set into your prepared cake pan
 Apples and Nuts and just a little sugar turn this bread into a

 Serves two
