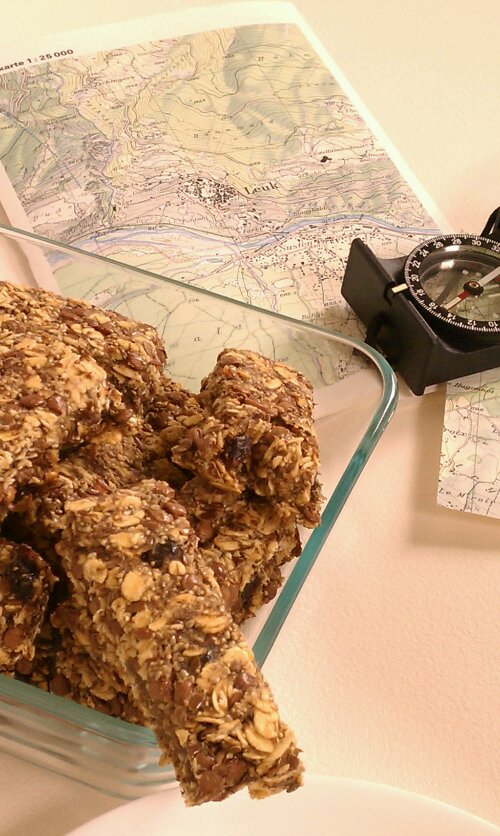
Hiking or kayaking was on my list for the past weekend, but the weather has been a little , shall we say, un-cooperative. Since last night it literally thunderstorms every hour. So I have been limited to moving out onto the deck with book, cookie and tea, then back in, then back out with juice and book, then back in… My poor kitty ‘Einstein’ is terrified of thunderstorms. He runs into the basement and hides. He’s been there pretty much all day 🙁 saw him once, I think I will take some water and food down to his little corner… Poor fellow.
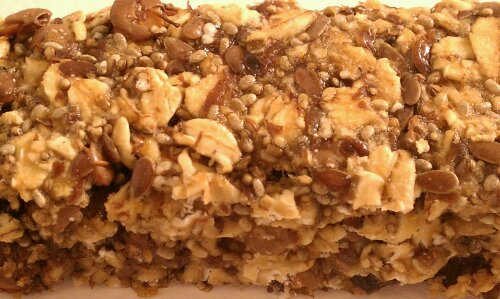
But on the upside of things, being limited to close to the house, I had plenty of time coming up with something that would be yummy (criteria number one), give me some sustained energy (i.e. complex carbs) and would be portable enough to take along, you know on hikes and such. Like a power bar. And since I really, really liked the granola I made recently (and this one), I started there with my ingredient list… And as an added bonus I supplemented with sprouted lentils for protein. To try lentils was an idea I got from Leanne’s Beach Bum Trail Mix Doesn’t that just look awesome? Heck, if they can go into trail mix, imagine how they would be sprouted and put into bars!
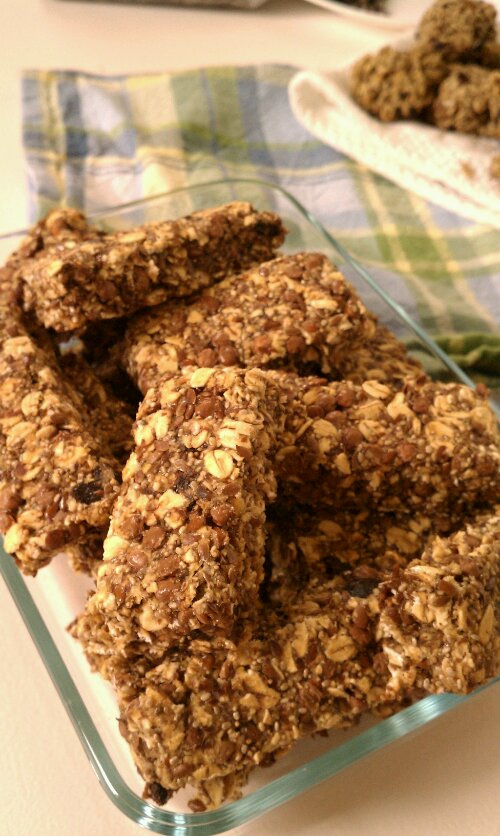
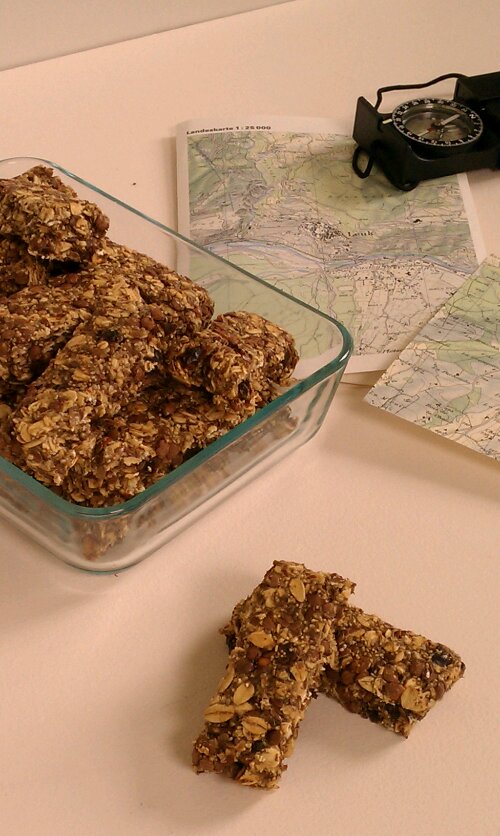
Ready for outdoor adventures! If only it stopped pouring…
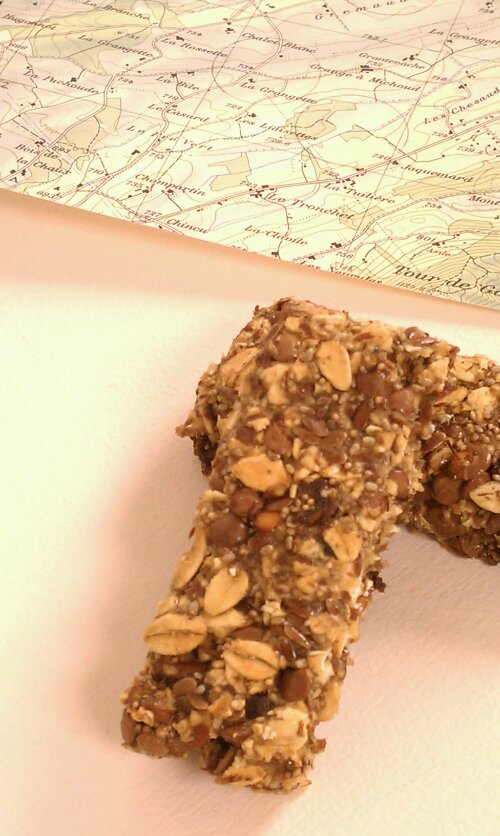 Even my boyfriend, who’s not all that concerned with healthy eating, loves these!
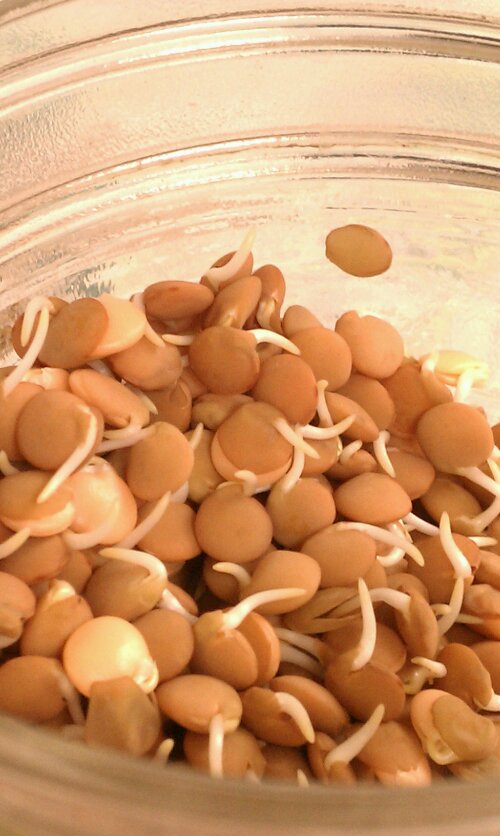 Sprouted Lentils, before drying
Ingredients
- 2 cups old fashioned rolled oats
- 1/2 cup popped amaranth grain (buy or do it yourself)
- 3/4 cup sprouted (and dried*) red lentils
- 3/4 cup date pieces or chopped dates
- 1/2 cup sweet brown rice flour
- 1/4 cup flax seed
- 1/4 cup flax meal
- 1/4 cup chia seeds
- 1/4 cup apple sauce
- 1 cup water
- 1/4 cup peanut butter
- 1/4 cup rice syrup
- 1/4 cup honey or agave nectar
* to dry the lentils after sprouting, preheat oven to 350F and place sprouted lentils out on a baking sheet. Cook for about 25 minutes, until crunchy. 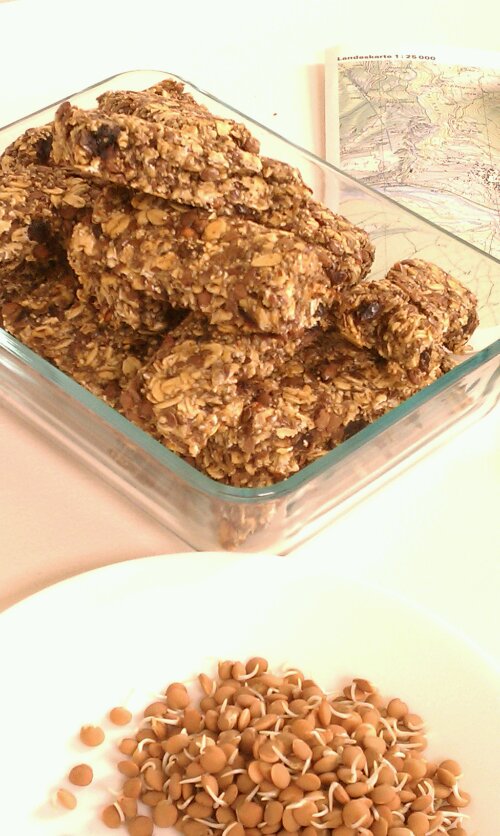 Ok, so I got a bit picture happy. Did I mention, it was raining all day?
Directions
- Mix oats through brown rice flour in a large bowl, set aside
- Mix flax seed, flax meal, chia seed, water and apple sauce, let rest 20 minutes. Then add the sweeteners and the peanut butter and mix until well combined.
- Add the wet mixture to the dry ingredients in the bowl and stir until incorporated.
- Spread on a lined baking sheet (a US quarter sheet or half of a bigger cookie sheet works well) until about 3/4″ thick
- Bake at 350 for 60 to 65 minutes, checking and turning the sheet after 40. Then turn oven off and leave them in the oven overnight.
- In the morning, cut into rectangles roughly 1″x 4″, makes about 24
 I used one side of a US half sheet size. Spread it out, it won’t go anywhere. And makes for some odd shaped bars at the end, you know, the ones YOU have to eat right away, to make it neat 😉
 Copyright © 2012 Simple Healthy Homemade. All rights reserved



 Even my boyfriend, who’s not all that concerned with healthy eating, loves these!
 Sprouted Lentils, before drying
 Ok, so I got a bit picture happy. Did I mention, it was raining all day?
 I used one side of a US half sheet size. Spread it out, it won’t go anywhere. And makes for some odd shaped bars at the end, you know, the ones YOU have to eat right away, to make it neat 😉
 Copyright © 2012 Simple Healthy Homemade. All rights reserved




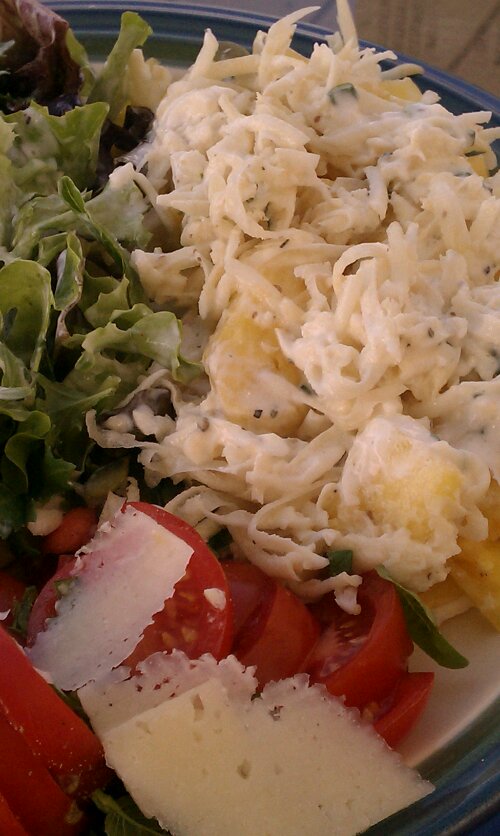
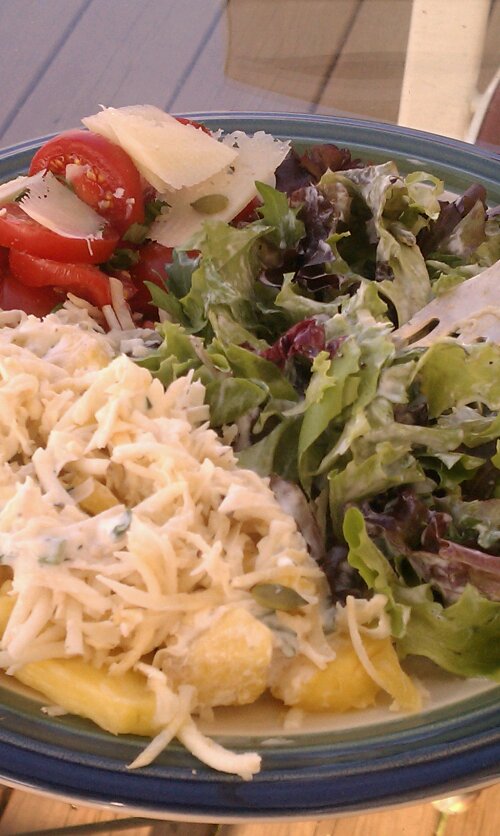
 I have made a dressing with sour cream for this one, but use any creamy dressing you like. (Have also tried it with buttermilk)
 Ingredients