If you are allergic or sensitive to corn, it can be quite a hassle eliminating all products containing corn or corn derivatives. It juts so seem since it is a heavily subsidized crop, it’s in everything or made into something that is in everything. Baby Carrots for example, are processed using citric acid, in this country made mostly from corn (ever notice how they are softer than regular carrots? Ever wonder why?) Somehow, besides adding substances that corn sensitive people react to, it seem to alter the GI (Glycemic Index, how fast carbohydrates in a particular food elevate your blood sugar), my guess is by breaking down some of the plant tissue by ‘cooking’ it with citric acid. I have heard from several diabetics that their blood sugar goes through the roof after snacking on baby carrots, but regular carrots are fine. Stay away from them.
But I’m going off on a tangent here. When I first started paying attention to the ‘corn in everything’ issue (my boss at work with is allergic to corn) I realized that baking powder is made with cornstarch, who would have thought?
So after some research, I have found this recipe that you can make yourself if you can’t find a corn free baking powder recipe (there are a couple out there I hear, but pretty hard to find)
Here’s what you need:
- Baking Soda
- Cream of Tartar
- Rice, Tapioca or Potato starch (depending on quantity you’re planning on making)
From my research, I found many similar recipes and have compiled the info here for y’all. Basically you need an alkaline ingredient and an acid salt, and an inert ingredient to keep the two from reacting until you want them too.
More technical stuff, if you care, if not skip to the recipe, I won’t be offended 😉
Cream of tartar is the common name for potassium hydrogen tartrate. Grapes are the only significant natural source of tartaric acid, and cream of tartar is obtained from sediment produced in the process of making wine. Cream of tartar is obtained when tartaric acid is half neutralized with potassium hydroxide, transforming it into a salt. Sodium bicarbonate reacts with the potassium hydrogen tartrate, causing the release of carbon dioxide (the bubbles that make the cake rise)
I even found the chemical reaction, but let’s skip that and get on with the program.
And as per my research, if you don’t add the inert starch, it will become rock solid (haven’t tried that, if you do let me know if it really does, I am infinitely curious)
For just a small quantity:
If your recipe calls for:
- 1 tsp baking powder: use 1/4 tsp baking soda, 1/2 tsp cream of tartar
- 1 1/2 tsp baking powder: use 3/8 tsp baking soda, 3/4 tsp cream of tartar
Or to keep on hand:
- 1/4 cup cram of tartar
- 2 tbsp baking soda
- 2 tbsp potato, rice or tapioca starch
Store just like you would for store bought baking powder.
Copyright © 2011 Simple Healthy Homemade. All rights reserved


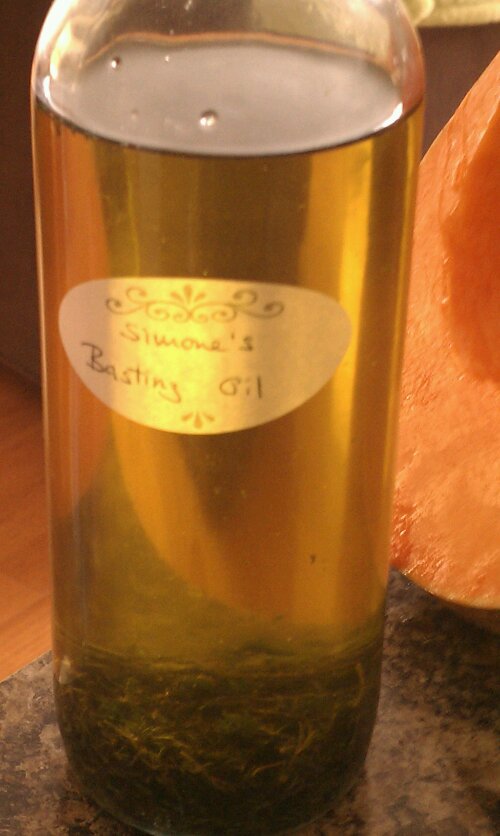
 Great on
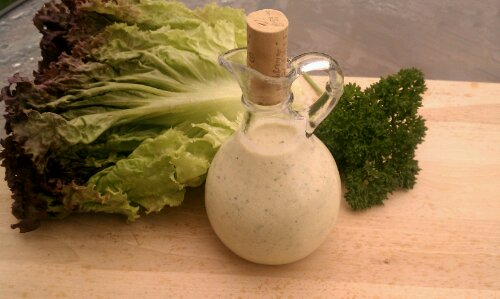
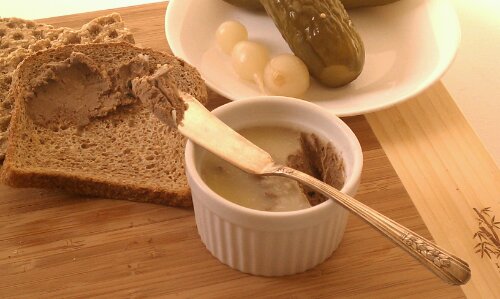


 Haha, see the window? 😉