
Since today is ‘Mardi Gras’ the day before Ash Wednesday, traditionally the Pennsylvania Dutch (which are descendants of German and German speaking Swiss settlers to this area: Dutch comes from the German word for German: Deutsch) eat fried pastries called Fasnachts. It’s a free form donut type treat, that was traditionally made to use up the sugar and lard before Lent and fasting started. And since Judy told me all about how to recognize a real ‘Fasnacht’ and how to distinguish them from all the impostures (for one, don’t trust the ones at the grocery store, they are not real unless they are made with POTATO)
Having lived in PA, albeit not in Dutch country for the last 12 years, it is about time to have one of those. And today is the day. So I scoured the internet for recipes and came up with one that seems authentic enough to me. I decided to give it a whirl myself and see if I can’t make some that would stand up to the scrutiny of my dear ‘Dutchies’. After all, I am from Switzerland, I speak German, so… Looks like that might give me some points towards credentials to make these 😉
Recipe from: bellaonline
I did make my own adjustments, some to return the recipe to a more authentic state (like using lard instead of Crisco) others since the modern kitchen is a bit different and I often find, that older recipes need less liquid in today’s kitchen. I am guessing this might be because back in the day, most houses would be heated with wood, and wood heat is very dry, the flour people would have used would have been drier, and during the rising time, the drier air would have affected everything as well. I think next time I would use 1/2 cup less milk to start and see how that goes. In this recipe I ended up using a whole cup more flour, and even this way, the dough was very sticky and hard to manage. I ended up making Fasnachts (or Fastnachts, translates to ‘fasting night’ or more accurately here, the night before the fast/lent) from about half the dough, turning the rest into baked concoctions.
 as you can see, the dough is very soft and cutting it into squares, was a bit of a challenge
 after that the pieces got to rest and rise, here ready for frying (Note: the recipe suggest to put them on wax paper, which I did. The result? The whole thing sticks, I
 think next time I will not use wax paper ever again. Floured cookie sheet might work better…
 some leftover dough pieces getting fried…
 the finished product, here I tossed some in sugar, left some plain. They are also delicious with cinnamon and sugar, but I hear traditionally, some folks cut them in half and butter or syrup them up. Yes, you heard right, syrup 🙂 I don’t think I’d survive that much sugar, but by all means, go try it.

 they end up pretty airy, I think the recipe could easily get away with less yeast. But they are delicious! Now off to the office to have them authenticated by the experts 😉
 Ingredients
- 2 cups milk
- 1 cup mashed potatoes (no salt, milk, or butter added)
- 1/2 cup sugar + 1/2 tsp. sugar
- 1 stick margarine, softened
- 1 packet rapid rise yeast
- 1/4 cup lukewarm water
- 6-1/2 cups flour (divided, 2 cups + 4 1/2 cups)
- 1 egg, lightly beaten
- 1-1/2 tsp. salt
- 1 can (3 pounds)
Crisco® or similar vegetable shortening for frying (to make them really traditional, you have to use lard)
Directions
To make the mashed potatoes, either peel and boil or steam, cool and then peel. Mash with a fork. In a large mixing bowl, combine the milk with the mashed potatoes.
Add 1/2 cup sugar plus the margarine. Mix with an electric mixer at low speed. If the mixture is still warm, cool to about room temperature before proceeding with next step. – Dissolve the yeast and 1/2 teaspoon sugar in barely warm water. Add to the potato mixture and mix well. Add 2 cups flour and mix again. Cover with a towel and let rise in a warm place for 25 minutes.
Add the lightly beaten egg and salt to the mixture. Add 4-1/2 cups flour, stirring it into the mixture with a large spoon. Turn onto a well floured board and knead for about 3 to 5 minutes. Add a small amount of extra flour if necessary so the dough can be handled without sticking to your fingers. Grease a large bowl. Place the dough in the greased bowl. Cover with a thin towel, and let rise in a warm, draft free place for about 2 hours or until it is at least double in size.
On a lightly floured surface, roll the dough 3/4″ thick. You can use a doughnut cutter to cut the dough or cut as typical Fastnachts – Cut the dough into 3″ to 4″ wide strips, then cut the strips into 3″ to 4″ pieces. To allow the center of Fastnacht to fry completely, cut a small slit in the center of each piece, using a sharp paring knife. Arrange the pieces of dough, about 1-1/2″ to 2″ apart, on large wax paper lined trays. Cover each tray with a thin towel. Place the trays in a warm place for 45 minutes to an hour, or until the dough pieces have raised to about double in size. (In the picture on the right, the dough has raised sufficiently and the doughnuts are ready to fry.)
Heat the shortening lard to 365º. Be very careful adding the Fasnachts to the oil, lower gently on a wire spoon, do not drop in the oil, it will splatter and can burn you very badly. Deep fry until both sides are golden brown, turning one time. Drain on white paper towels. Cool completely before serving. Store in a covered, airtight container.
Makes about 20 to 24 Fastnachts, depending on size.

Copyright © 2012 Simple Healthy Homemade. All rights reserved


 Chicken Venison Meatball Muffins, (I think I added some jalapeno, see the green?)


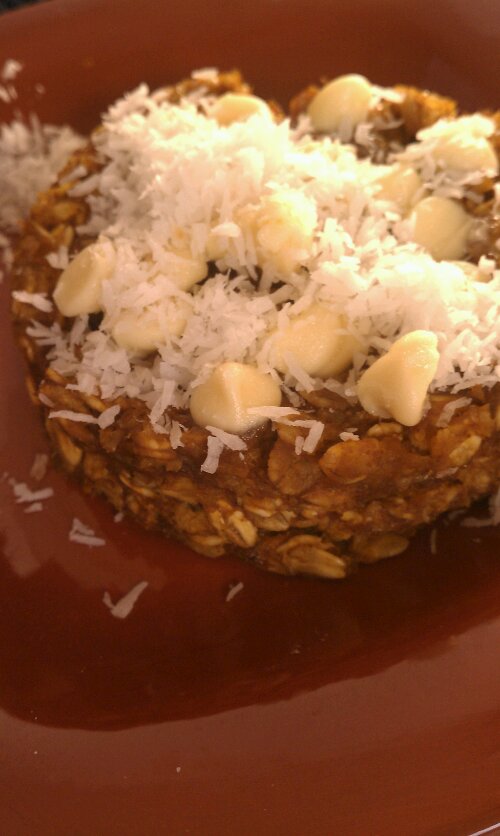
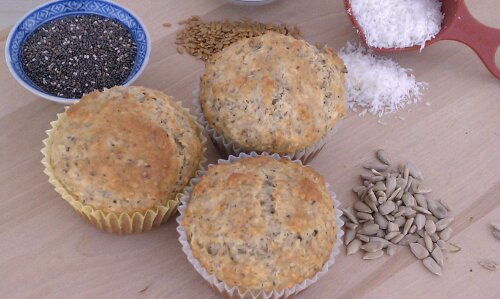
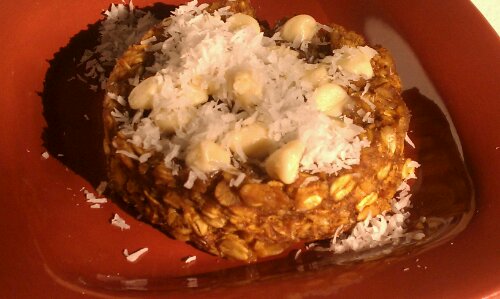 Pumpkin White Chocolate version here shown made with rolled oats…
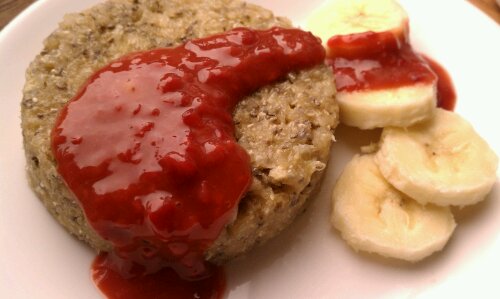 and Tropical Mango version with Raspberry Mango Sauce, shown made with Quinoa (I know, it looks like Ketchup; Trust me it tastes TOTALLY different!)


 unbaked…
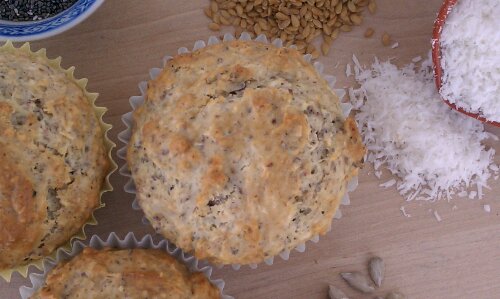 …baked!


