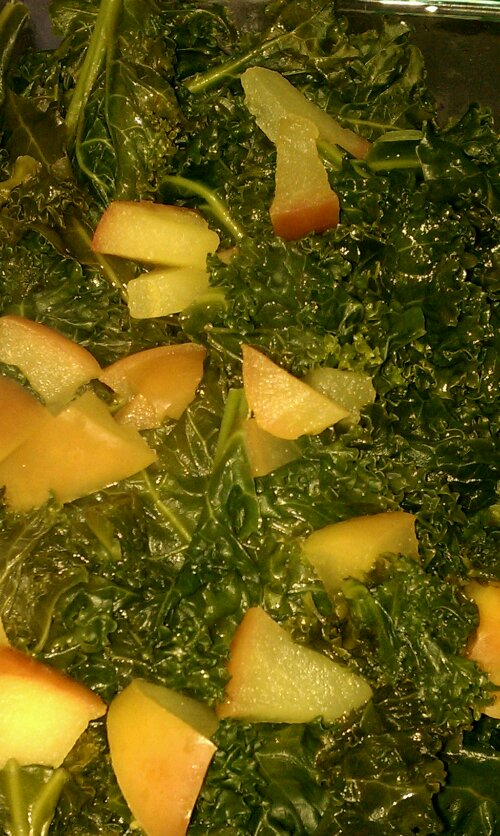
Kale #3 with Apple

image

Check out more easy Kale recipes: Kale #1, Kale #2, Tomato, Kale and Cheese Omelette

Another quick and easy kale recipe! Make sure the heat is up before adding the oil and then the kale , it should splatter when it hits the pan!
Besides being yummy, there’s several other good things about this: healthy, quick, and good way to ice up some apples that might have gotten forgotten on the bottom of your fruit basket for a little longer than ideal! Slice them dice them and add!
Simple, sweet and quick

Feeds 2 as a side(around here though, I have been known to polish off a bunch of kale by myself, so use your judgement)

Ingredients

1 bunch kale, washed and de-stemmed

1-2 small apples, diced

1/4 cup water

salt to taste

1 tbsp cider vinegar

image
Directions
°Wash and de-stem the kale
Heat a skilled, add little bit of oil, then and the kale and about 1/i4 cup of water.
° cover and cook for 8-10 minutes, depending on the tenderness of the kale.
°add the apple pieces, cover and cook 3 minutes when add the cider vinegar and steam for am additional 2 minutes
° ready to serve!
image

image
© 2012 SimpleHealthyHomemade

Granola Power Bars

image

Hiking or kayaking was on my list for the past weekend, but the weather has been a little , shall we say, un-cooperative. Since last night it literally thunderstorms every hour. So I have been limited to moving out onto the deck with book, cookie and tea, then back in, then back out with juice and book, then back in…  My poor kitty ‘Einstein’ is terrified of thunderstorms. He runs into the basement and hides. He’s been there pretty much all day 🙁 saw him once, I think I will take some water and food down to his little corner… Poor fellow.

image

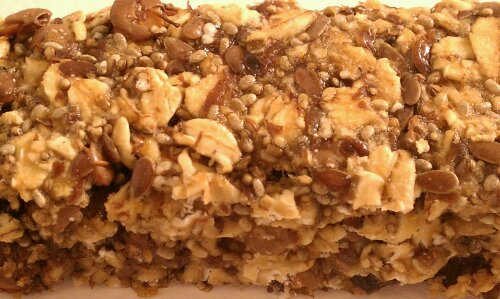
But on the upside of things, being limited to close to the house, I had plenty of time coming up with something that would be yummy (criteria number one), give me some sustained energy (i.e. complex carbs) and would be portable enough to take along, you know on hikes and such. Like a power bar. And since I really, really liked the granola I made recently (and this one), I started there with my ingredient list… And as an added bonus I supplemented with sprouted lentils for protein. To try lentils was an idea I got from Leanne’s Beach Bum Trail Mix Doesn’t that just look awesome? Heck, if they can go into trail mix, imagine how they would be sprouted and put into bars!

image

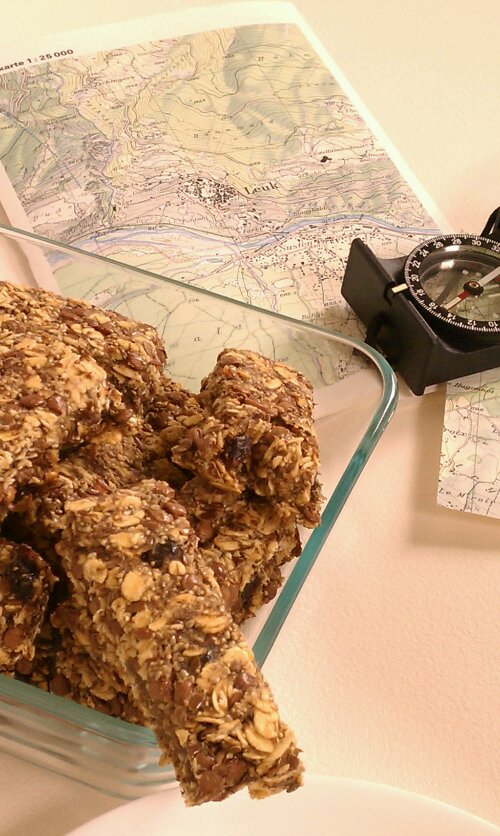
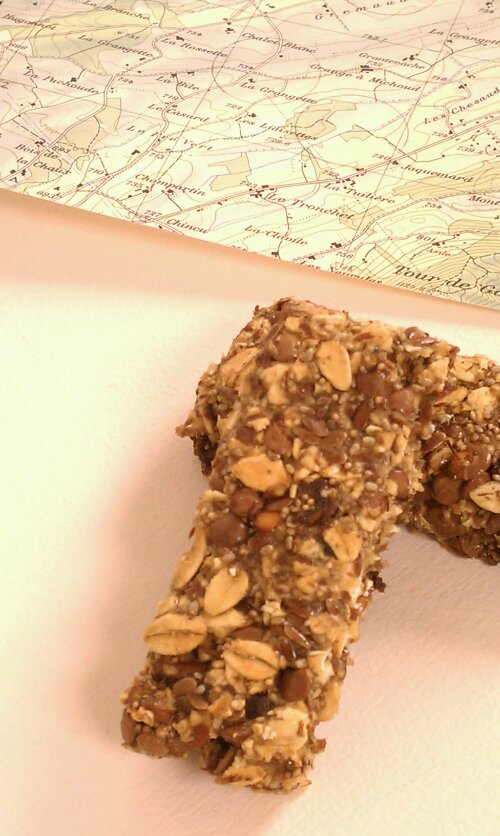
Ready for outdoor adventures! If only it stopped pouring…

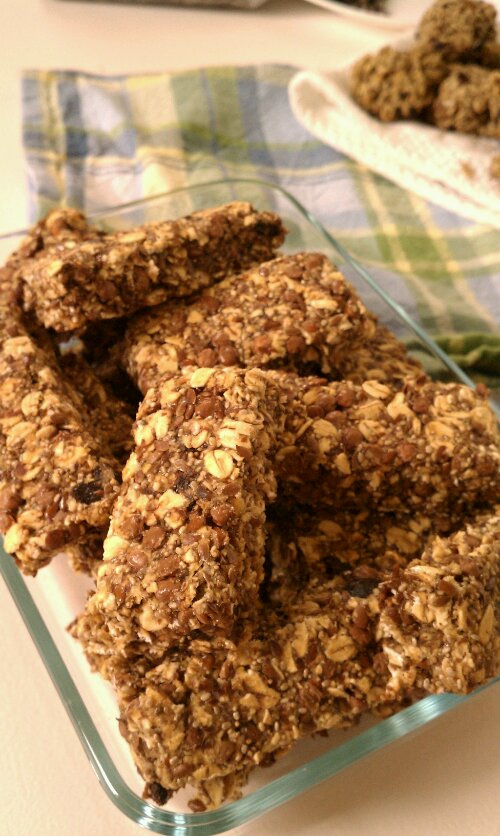
imageEven my boyfriend, who’s not all that concerned with healthy eating, loves these!

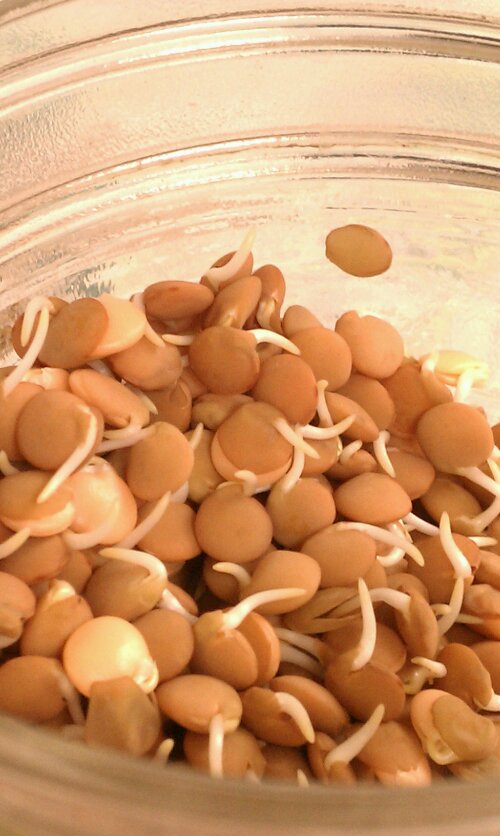
imageSprouted Lentils, before drying

Ingredients

  • 2 cups old fashioned rolled oats
  • 1/2 cup popped amaranth grain (buy or do it yourself)
  • 3/4 cup sprouted (and dried*) red lentils
  • 3/4 cup date pieces or chopped dates
  • 1/2 cup sweet brown rice flour
  • 1/4 cup flax seed
  • 1/4 cup flax meal
  • 1/4 cup chia seeds
  • 1/4 cup apple sauce
  • 1 cup water
  • 1/4 cup peanut butter
  • 1/4 cup rice syrup
  • 1/4 cup honey or agave nectar

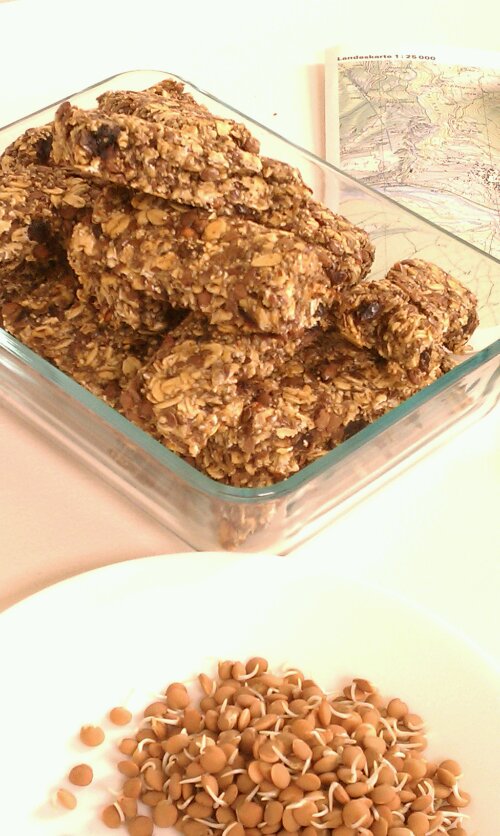
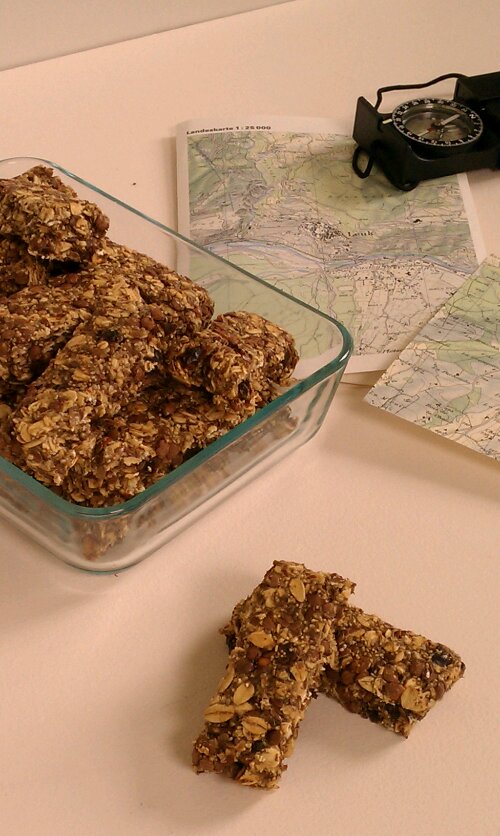
* to dry the lentils after sprouting, preheat oven to 350F and place sprouted lentils out on a baking sheet. Cook for about 25 minutes, until crunchy. imageOk, so I got a bit picture happy. Did I mention, it was raining all day?

Directions

  1. Mix oats through brown rice flour in a large bowl, set aside
  2. Mix flax seed, flax meal, chia seed, water and apple sauce, let rest 20 minutes. Then add the sweeteners and the peanut butter and mix until well combined.
  3. Add the wet mixture to the dry ingredients in the bowl and stir until incorporated.
  4. Spread on a lined baking sheet (a US quarter sheet or half of a bigger cookie sheet works well) until about 3/4″ thick
  5. Bake at 350 for 60 to 65 minutes, checking and turning the sheet after 40. Then turn oven off and leave them in the oven overnight.
  6. In the morning, cut into rectangles roughly 1″x 4″, makes about 24

imageI used one side of a US half sheet size. Spread it out, it won’t go anywhere. And makes for some odd shaped bars at the end, you know, the ones YOU have to eat right away, to make it neat 😉

imageCopyright © 2012 Simple Healthy Homemade. All rights reserved

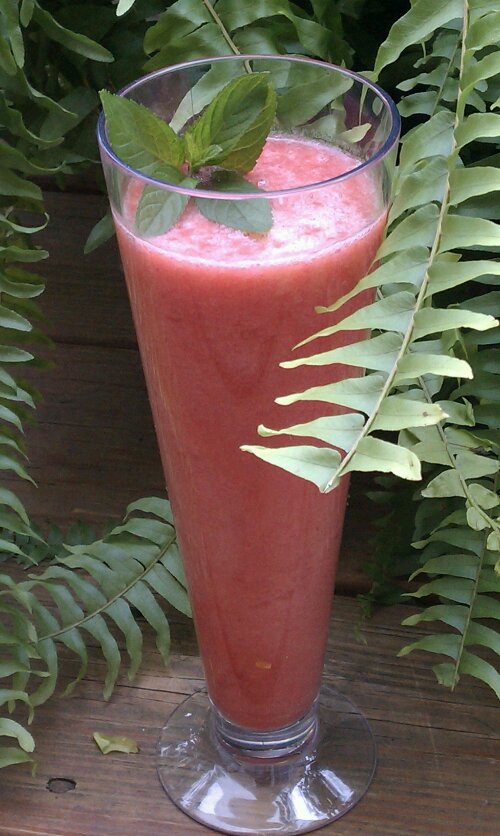
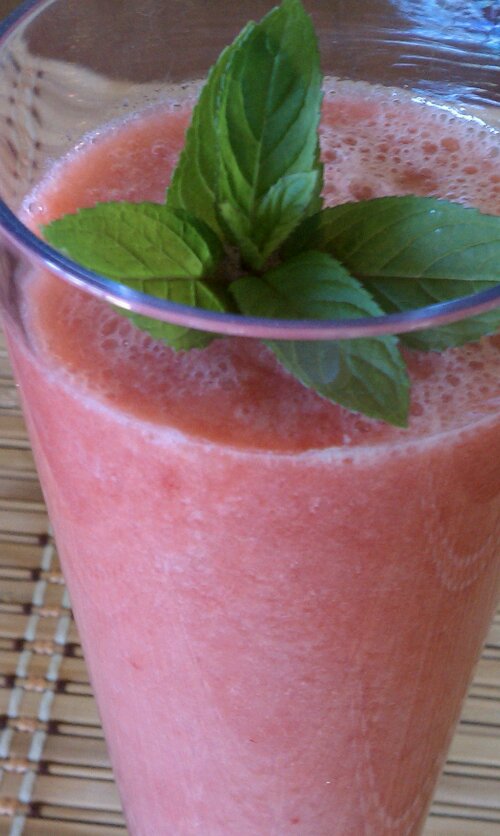
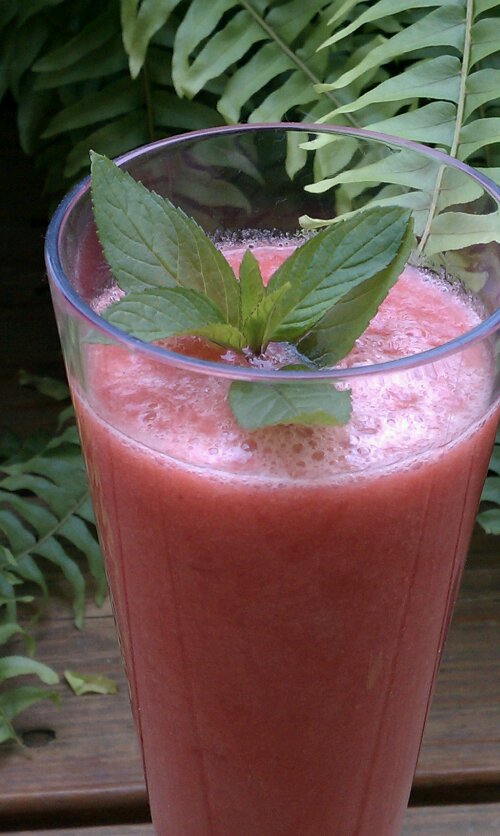
Strawberry Jicama Juice with Mint

image

In  the last couple of weeks, I have re-introduced juices into my days again. No no, not OJ from a box. We all realize by now how not so good that might be for you. If you don’t yet, just think about the fact that diabetics are given orange juice when their blood sugar gets dangerously low, to quickly bring it back up… On some days juicing is an easy way to up my vegetable intake, and at least get to some of the nutrition I really should eat but don’t always have time for.

image

I will not get up on my soap box about sugar today, waaaaay to hot for climbing, but on hot days like this, eating is sometimes not something I feel like doing, but using my juicer always seems to come in handy. My general rule of thumb would be to use fruit only to sweeten your (green, yellow or red) vegetable juices, unless… unless of course you are making a desert. Well, here is more of a desert version, you know, to balance out the green juices in your life 😉

image

Ingredients

  • 1/2 lb strawberries
  • 1/2 medium Jicama, brown skin peeled off
  • 1/2 cucumber, peeled
  • 1 Chinese pear, quartered and seeds removed
  • 2 sprigs mint, plus some leaves for garnish

Directions

  1. Per your juicer’s guidelines, juice all the ingredients: I started with the softest things, the strawberries. Don’t push down, or you won’t get much juice from them, gently feed them through. Either juice the mint sprigs, or usig a wooden drink mottler, bruise them in the glass before serving the drink. Then juice the Jicama, the cucumber and the pear.
  2. Pour over ice, garnish with mint leaves and serve!
  3. Save the strawberry pulp for another use, unless you have a super Juicer and there is almost nothing left, you can use the rest for baking, pancakes or pop sicles

I bet this would be awesome spiked with lemon vodka… Tropical Island gettaway, here I come! …

image

Copyright © 2012 Simple Healthy Homemade. All rights reserved

Celeriac Slaw with Pineapple

image

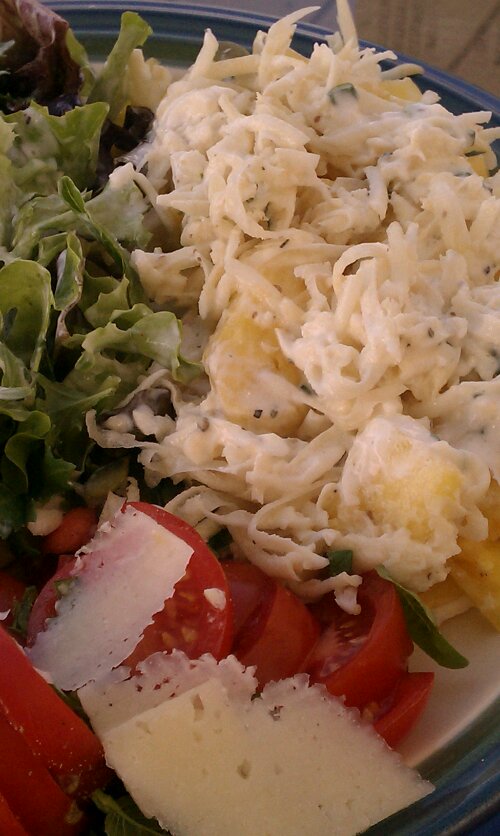
Ahhhh summer! 🙂 The weather has been crazy! From 95 to 69 in two hours due to thunderstorms, then back up to hot the next day, after the early morning temps were in the low 50’s… So with the official start of pool season (Memorial Day) the grill has moved back to center stage for many, and we can never have enough ideas for sides to eat with all the great things that will be grilled up. And with the warm weather being here to stay, there won’t be much winter crop celery root available soon. So here, to ring in the changing season with one more glorious celeriac recipe, I made a salad, a slaw really, adding summery pineapple to make it more special. Even though this is a ‘slaw’, it is light and healthy, no heavy mayonnaise or heavy cream, but flavorful and perfect for that next summer picnic!

imageI have made a dressing with sour cream for this one, but use any creamy dressing you like. (Have also tried it with buttermilk)

imageIngredients

  • 1 medium celeriac (celery root)
  • 2 tbsp lemon juice
  • 1 cup fresh pineapple, cut into chunks
  • 1/2 cup sour cream
  • 1/4 cup apple cider or white wine vinegar
  • 1/4 cup chopped mixed herbs (such as parsley, chives, thyme)
  • 1 tsp mustard
  • 1/2 tsp salt
  • 1/2 tsp fresh ground black pepper

Directions

  1. Clean and peel celeriac, then grate on the coarse side of a grater or use your food processor. Drizzle with lemon juice, toss add the pineapple and set aside.
  2. To make the dressing, mix the herbs, mustard, salt and pepper with the vinegar, then stir in the sour cream.
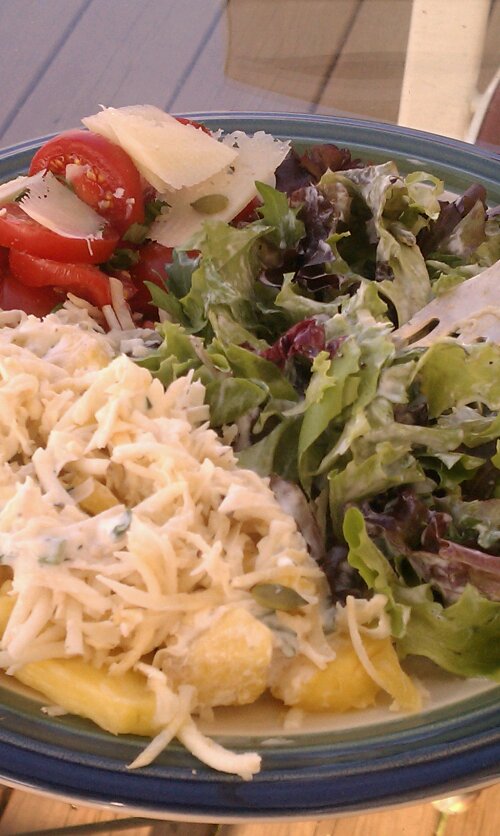
  3. Add the dressing to the celeriac, stir until well combined. Toss something on the grill to go along with it or make a yummy salad platter like I did here.

image

Copyright © 2012 Simple Healthy Homemade. All rights reserved

Gluten-free Vegan Oatmeal Cacao Nib Cookies

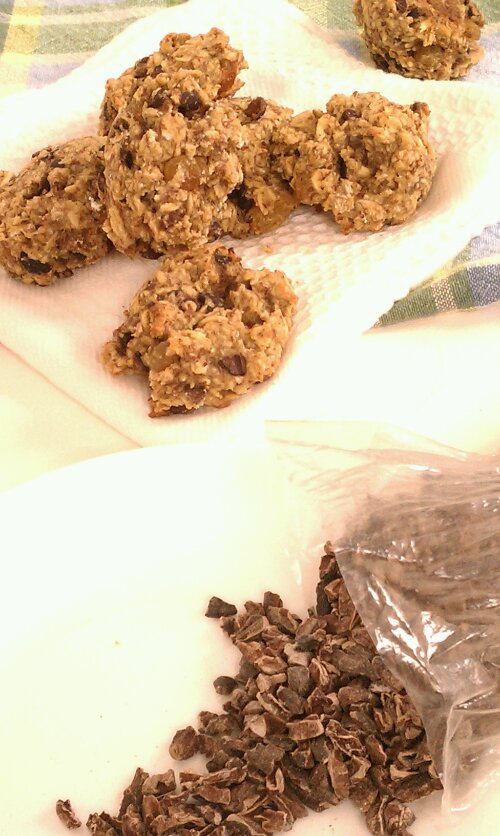
image Oh yeah, AND raisins!

These are so ridiculously awesome. The cacao nibs give them a dark chocolate flavor you can smell from the oven all while being gluten-free and low sugar! A quick word on cacao nibs/cacao bean: coming from the Theobroma cacao tree,  sometimes wrongly labeled cocoa nibs/cocoa bean, which from my understanding refers only to the extracted butter or powdered stuff. The mayan word is: kakaw, they might be on to something, I mean, they’ve only been using the stuff for ever. Just sayin’

Gosh, you have no idea, but just writing about those cookies makes my mouth water, and of course they are already gone… (I see some more baking coming up in this girl’s future) They are chewy and fragrant and yes, the texture is somewhat different than regular oatmeal cookies, after all there are mostly oats in there (and they are made without gluten flour).

imageDark cacao nibs (essentially pieces of cacao bean) 

If you are cultivating your sweet tooth, please feel free to use more ‘sweet stuff’. The cookies here are getting some of their sweetness from the raisins, but they would be a perfect treat for my Dad, who doesn’t really like sweets. I am a big believer in flavor over just plain sweet, or salty for that matter; and these cookies fit the bill perfectly.

image

Ingredients

  • 2 cups rolled oats
  • 1/2 cup millet flour*
  • 1/4 cup golden raisins
  • 1/2 cup cacao nibs
  • 1/4 cup flax meal
  • 2 tbsp chia seeds
  • 3/4 cup water
  • 1/4 cup almond or other nut butter
  • 1/4 cup agave nectar, maple syrup or honey**

* I used millet because of its sweet, nutty flavor, but you could most likely use other gluten-free flours

**if using honey, the cookies are no longer vegan

image

Directions

  1. Preheat oven to 350ºF
  2. In a large bowl, combine first four ingredients (oats through cacao nibs)
  3. In a separate bowl, mix flax meal and chia seeds with the water, set aside and let rest for 10 minutes.Then stir in the agave nectar and almond butter
  4. Stir the flax mix into the bowl with the oats, add up to another 1/4 cup of water if dough looks too dry.
  5. Drop cookies by the rounded tablespoon onto a prepared baking sheet, and bake until golden brown on the bottom and just starting to turn golden on top, about 8 to 11 minutes.

Makes about 30

imageCopyright © 2012 Simple Healthy Homemade. All rights reserved

Apple Raisin Granola

image

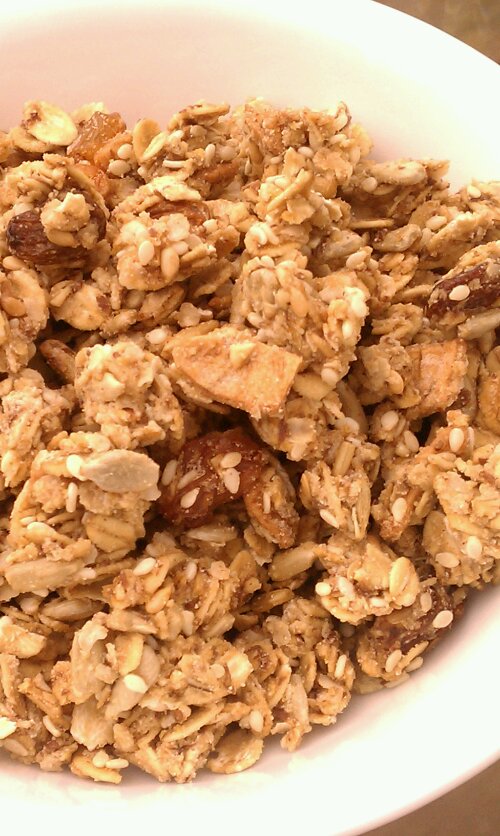
I am back after taking a mini vacation up to a beautiful Bed & Breakfast in New Hampshire. Right on Lake Winnisquam. Sometimes you just need to get away from it all… Ahhh! It’s just the best to have someone make a lavish breakfast for you, and there were always freshly baked cookies. It’s like visiting your favorite Grandma, without having to help out in the kitchen 🙂 More on that soon! But before leaving, I had to make a few things that I could bring, for snacks and since I really did not know about the whole cookie thing they had going until we got there… And besides we were going to be on the road for six or seven hours. So I decided on another granola. Thanks to Heidi over at LightlyCrunchy who made this fantastic Apple Cranberry Granola, I was inspired to add the apple rings to my granola instead of just indiscriminately munching on them. I had never thought of using up my dried apple rings in a granola, what an ingenious idea!  

imagebefore adding milk or yogurt, can’t decide which I like best…

I go through phases, I find something, love it eat a whole bunch and then, not sure, but forget about it for a while? or get kind of tired of the taste? Anyhow I found myself with a good size bag of dried apple rings living in my cupboard, so now it can find its way into my breakfast and snacks 🙂 Delicious! The only thing I will work on for next time? Portability. Try eating granola while in the car… Not easy!

image

Ingredients

  • 2 cups rolled oats
  • 1/2 cup quinoa flakes
  • 1/2 cup dried apple rings, chopped
  • 1/4 cup sesame seeds
  • 1/4 cup golden raisins
  • 1/2 cup sunflower seeds
  • 1/2 cup brown rice flour
  • 1/4 cup brown rice syrup
  • (1/4 cup agave nectar or honey, optional*)
  • 3 tbsp coconut oil, melted
  • 4 tbsp flax meal/ground flax seeds mixed with 6 tbsp water, let rest 5 minutes

* If you are making this for the first time, use the additional sweetener (the honey or agave syrup) especially if you are trying to transition kids or the ‘I don’t have a sweet tooth’ husbands to a lower sugar diet, then over time gradually reduce the amount of sweetener added

Directions

  1. Preheat oven to 275º F
  2. Mix all the flakes, flour and seeds with the raisins and the apple pieces
  3. In a separate bowl, mix the wet ingredients: rice syrup, honey/agave, coconut oil and the flax meal mixed with the water.
  4. Add the wet ingredients to the oat mixture, stir well until evenly distributed, spread on a lined baking sheet and bake for 20 minutes. Stir, bake 10 minutes, stir again and bake for an additional 10 minutes.

image

Copyright © 2012 Simple Healthy Homemade. All rights reserved

Nüssli Salat (lambs lettuce, Mâche or Corn Salad) with Eggs and Orange

image

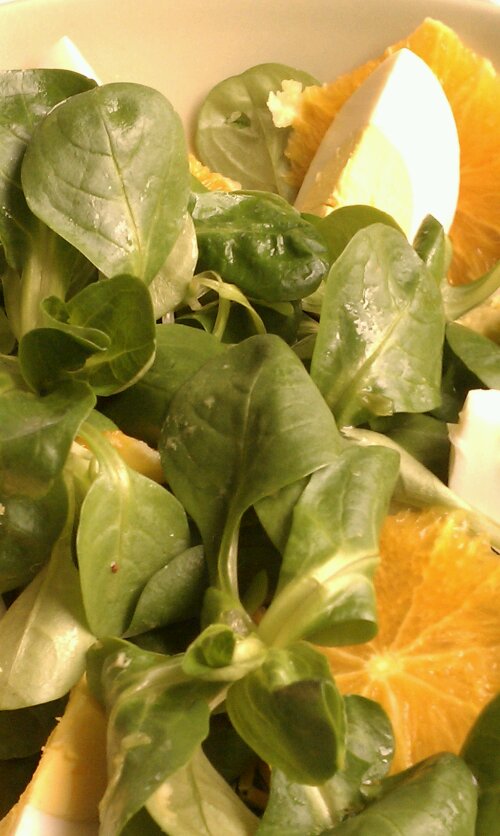
A filling lunch salad for a warm day. When I was  kid, my Mom made this a lot after Easter, it’s a good way to use up all the pretty Easter eggs. I am sure she still makes it, I am just not there to enjoy it that often 🙁  Over time, I have changed things around a bit, so for one I do not always use her creamy dressing, here I just made a simple vinaigrette  but it would sure would be awesome with Sour Cream Chive Dressing or Greek Feta Dressing! I also started adding part of an orange, to pep it up a bit, and really like it. Add a bit of the orange juice from peeling and cutting the orange to your dressing.

image

In my parents garden, we used to grow our own Nüssli Salat. In the early spring, and when we were going to get snow or a hard frost, my Dad would cover it with burlap bags. Wait, I am thinking, not totally sure on this, but I think, he grew the stuff  covered with bags all winter long… Hmm will have to check on that next time I talk to ‘Switzerland’, it might be that I was just a kid making winter looooonger than it needed to be in my Mom’s eyes. (My Mom did not really appreciate winter as much as I did)

image

Per person you will need:

Ingredients

  • a good plate full of Nüssli Salat, Mâche (Corn salad or Lambs lettuce)*
  • 2 hard boiled eggs
  • 1/2 orange, peeled pitted and sliced crosswise into rounds
  • 2-4 tablespoons of your favorite dressing (vinaigrette shown here)

* If you can’t find this delicious lettuce, it’s usually available in the winter and early in the spring, anything with some substance could be substituted

Directions

Arrange on platter and off you go!

image

Copyright © 2012 Simple Healthy Homemade. All rights reserved

Sour Cream Chive Dressing

image

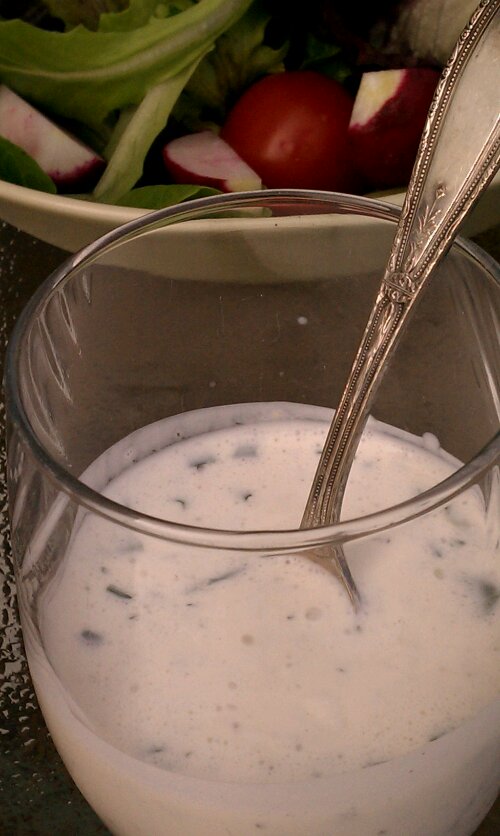
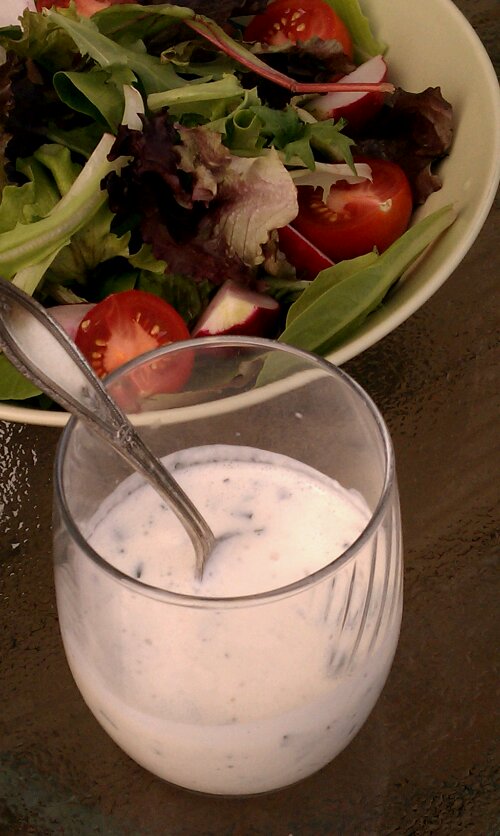
Quick Dressing to throw together when you’re in a hurry. I love when one recipe leads to another, as the Guilt Fee Yogurt Chive Sauce inspired this dressing one evening, turning leftovers into something new. I liked it so much that it became its own recipe. It now has a permanent home, you know, instead of leftover land tent city 😉

It makes a wonderful creamy dressing without adding the calories of mayo. Use it on any salad or as a light refreshing dip for veggies.

You need

  • 1/2 cup sour cream
  • 1/2 cup pickle juice or vinegar
  • 1/2 cup chopped chives
  • 1/2 tsp salt
  • 1/2 tsp ground black pepper
  • a very small clove of garlic, minced (optional)
  • 2 tbsp olive oil

Directions

  1. Mix everything in a bowl or shaker cup until well combined

image

Copyright © 2012 Simple Healthy Homemade. All rights reserved

Pumpkin & Flax Seed Granola with Almonds

image

There are many, many versions of granola, and I have made countless of them in the past, but no matter how much I would tinker and change the recipe, I found that they would never get quite like the ones you buy in a box. Lately I was re-inspired to give it another try by seeing such yummilicious recipes as LightlyCrunchy’s chocolate granola (doesn’t that sound super delish?) and I am just intrigued by Leanne’s idea of using sprouted lentils for her granola recipe, on my list to try…
image

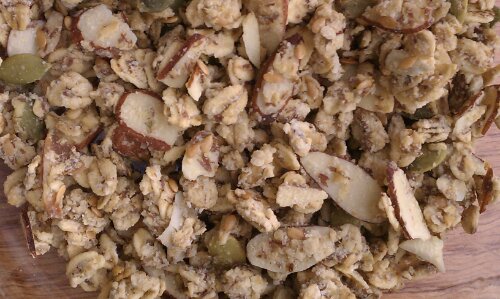
So back to my granola story. In the past they either got REALLY crunchy (and I know there are some at the store you better add to the milk or yogurt a good while before you plan on eating it, tried them too) or they are just flavored roasted rolled oats, yummy, oh yes, but what I am looking for are those clumps or clusters that are crunchy, yet you don’t lose a tooth biting into them if you decide to just grab a handful at random. So crunchy clusters that crunch apart when you bite them, if that makes sense. But I have never been able to replicate that, no matter how much I doctored the recipes, that is, at least not until now! (Maestro, drum roll please!) 

imageSee? Got the clusters I wanted!

Yes, I could just go on and buy some every once in a while (which is what I have been doing), when the urge overcomes me, but you see, besides being quite expensive, in my opinion, there are several problems with most granola. They either contain soy (I am staying away from soy, almost all of it in the US is gmo and besides, unfermented soy contains phytoestrogens, which I try to avoid. Phytoestrogens are plant based estrogen like compounds, and a lot of cancers are hormone fueled…) or soybean oil (or vegetable oil, same difference in the end), gluten, (which normally I have no issue with, but for allergy season, I mostly cut it out of my diet, and what do you know? My accupuncturist was right! Shhhht, but I have been with hardly any seasonal allergy symptoms this year!!!! Yes, I am going and knocking on some wood right now… ) So even though I generally am perfectly capable of eating gluten and have no (visible) symptoms or reactions to it, I know a lot of my readers have to watch it.

And lastly the sugar content upsets my apple-cart, (in the spirit of full disclosure, I admittedly have only a vague idea of what an apple-cart looks like… I am gonna have to google that one) I often wonder, why so awfully sweet? But the answer probably lies in the general over use of sugar and the resulting ‘taste immunity’ to the sweetness of it, so they keep having to add more to all the processed food so people buy theirs over the competition. Once you start moving towards eating cleaner, for starters, less stuff in boxes, less sugar (or better no sugar), you will start to notice the natural sweetness in say carrots or red bell peppers again.

Oh boy am I exited about this one! And the possibilities… can’t wait to play some more with it, I already got some trials running and some definite winners on flavor combinations coming up shortly!

And gosh, it smells so good, you’ll totally want to eat some while it is in the oven, but try and wait, totally worth it 🙂

image

Ingredients

  • 2 cups old fashioned rolled oats
  • 1/2 cup sliced almonds
  • 1/2 cup mixed pumpkin, flax and sunflower seeds
  • 1/2 cup brown rice flour
  • 1/4 cup quinoa flakes
  • 2 tbsp coconut oil
  • 1/4 cup rice syrup
  • 2 tbsp honey or agave syrup (you can start with 1/3 cup and transition down to 2 tbsp, if you still like things conventionally sweet)
  • 3 tbsp ground flax seed/flax meal
  • 6 tbsp water
  • 1 tsp vanilla extract

Directions

  1. Preheat oven to 275º F
  2. Mix oats through quinoa flakes in a large bowl.
  3. In a separate bowl, gently heat brown rice syrup, honey and coconut oil until liquid.
  4. Meanwhile stir water into flax meal, let sit 5 minutes.
  5. Add vanilla and flax mixture to rice syrup, stir then add to the big bowl with the oat mixture. Stir until evenly moistened.
  6. Spread on a lined cookie sheet and bake at 275º F for 15 minutes, stir, bake another 10 minutes then stir again, and bake another 10 minutes. Cool on the baking sheet
  7. Let cool completely before storing so it has a chance to crisp up.

The only downside to this is it makes me want to eat some every time I look at it…

imageCopyright © 2012 Simple Healthy Homemade. All rights reserved

Daifuku

image

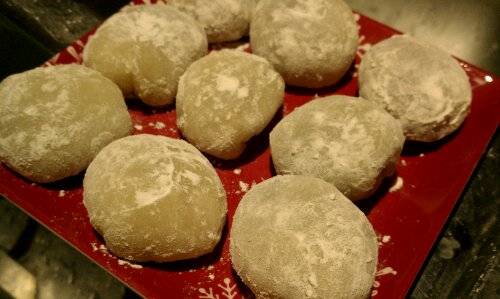
Glutinous rice cakes or Daifuku are something you can find at Asian markets all over the world, and that’s where I found them first. But if you know me a little, at some point I can’t leave it at that. I gotta know how it’s made.To ease your fears, no, I wasn’t the kid that opened up the belly of my dolls to find out what was inside. But I suspect that one of the reasons as to why not, might have had to do with me understanding that it would destroy them and my mom most certainly would not find willful destruction (no matter how lofty and glorious the reason behind it might have been) a good enough reason to buy another one. Oh yeah, from the days before the entire living room turned into a toy store when folks have children.

So, back to the subject at hand, I am just intrigued by how things are made, and why. You know that show on tv ‘how things are made’? If I had a tv, totally down my ally :). So of course that does not stop at food either and since part of my philosophy is if you can’t make it yourself, don’t eat it, I had to give this one a shot.

I searched the internet and found tons of recipes, some traditional, using a stove top method, some very elaborate on how to decorate, color or shape into flowers. So this recipe is adapted from various internet sources and in the end, I opted for an easy microwave option to make the dough…

image

Not quite as pretty and uniform as from the store…

You need to get Mochiko, or glutinous rice flour, which is the main ingredient in these, and something to fill the little cakes with. Traditionally Koshi-an, a sweetened Adzuki (red) bean paste is used, or a, also sweetened, smooth white bean paste, but I have in the past made them using sweetened chestnut puree. Besides sugar, the only other thing you need is potato starch, so the dough doesn’t stick to everything

imageI have a nagging feeling that the translator flunked English class…

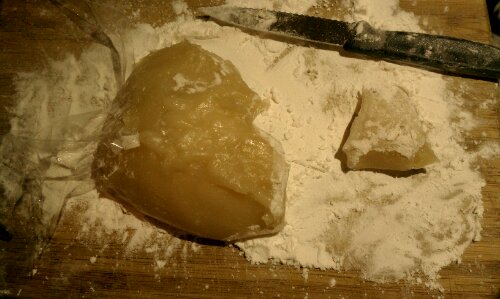
imageMake sure the entire work surface is covered in corn, I mean potato starch. Cut off a chunk of dough…

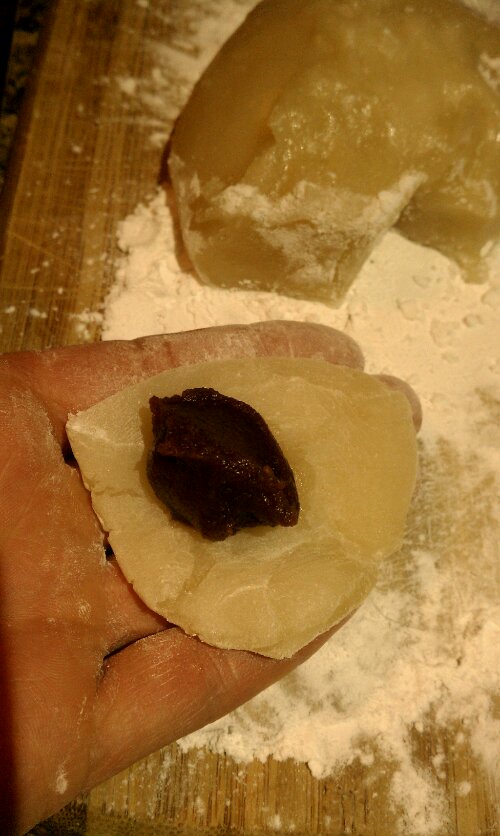
image…place the filling in the center…

imagethen  wrap the dough around it, making a little pillow… And finished!

Ingredients:

  • 3/4 cup Mochiko (sweet rice flour, also called glutinous rice flour)*
  • 1/4 cup sugar
  • 3/4 cups minus one tablespoon Water
  • 1 tsp pandanus leaf or vanilla extract (optional)
  • about 1 cup Red Bean paste (or other sweet filling)
  • Potato starch or other ‘..starch’ to keep the cakes from sticking to everything

* even though the name suggests it, there is not gluten in rice.

Directions:

  1. Mix the M0chiko, sugar, water and extract (if using) in a bowl, and mix well with a fork
  2. Microwave on high for 2 minutes, carefully remove the bowl (HOT) and stir, then return to microwave and cook another 1 1/2 to 2 minutes (depending on the power of your device). The dough should now be smooth and super hot.
  3. Cover a cutting board (or other work surface) with potato starch (or whatever else they sold you at the Asian market 😉 and leave the dough on it to cool slightly.
  4. When it can be touched, cut a piece of dough off (about egg yolk sized, out of lack for a better comparison), flatten into a disc and place a tablespoon fo filling in the center. Make sure the dough piece and your hands are covered in starch before you start. Note: To start, until you get the hang of it, use a teaspoon of filling, it’s a bit easier.
  5. Cover the filling with the edges of the disc so as to encase the filling completely. Set aside, seam side down, on a potato starch dusted tray or plate, and repeat until all the dough is used up.

imageCopyright © 2012 Simple Healthy Homemade. All rights reserved