Lately I have just been feeling like changing things. From putting summer clothes away, ‘Tiffany-ing’ my bathroom windows,

and just generally fixing up and changing things around the house. Home Depot has been my friend (if not my wallet’s…) and I will soon be the proud owner of a real garage door opener! Hey, it only took four and a half years of living here, but now in the winter, in the snow or rain, I can actually use my garage for what it was meant for. Right now I have to leap out of the car, unlock the garage door, (had to get a separate key chain for that), open it, run back to the car and drive in = Completely useless when it pours as it literally takes less time to run to the front door. Yay! Can’t wait 🙂
I also have been thinking about adding a tile back-splash in my kitchen, currently debating on colors.

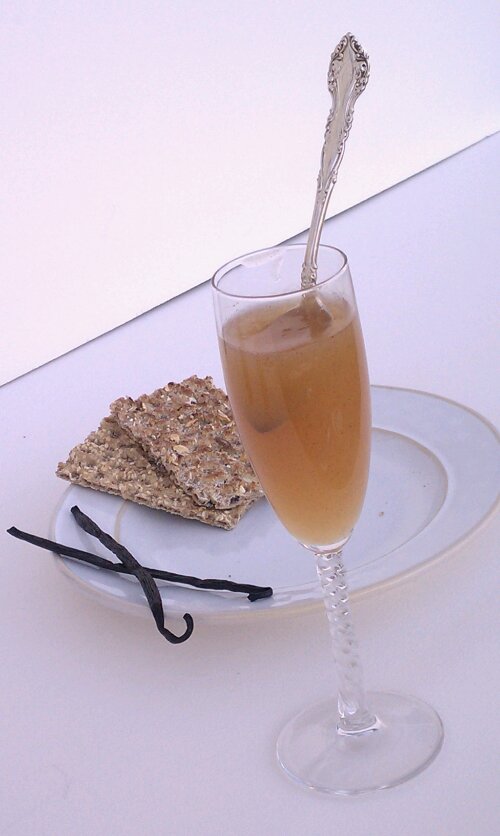
But here’s what I’ve come across looking for some paperwork filed away in a box in the basement… I though I ate it all, but there it was: Pear Vanilla Butter, 2008.
I have been waiting forever, ok maybe not, almost two weeks, to share this with you. It was inspired by a recipe in a cook book on preserving, but for the love of me I can’t find where it was. Luckily I had jotted down some notes and can therefore (hopefully * I was saying a prayer here*) recreate it. Trust me, it is totally worth the time spent. It is the smoothest, most delicately flavored preserve you will ever make! If the best and most beautiful parts of fall turned into a single food, it would be this elegant and sophisticated jam! Move over pumpkin and apple! ( At least for a little while)

I vaguely remember the original recipe saying something about ‘keeps for 3 months’, but this little gem I found smells and tastes just like I remember and while I won’t recommend you try this at home, it seems perfectly fine to me (if this is the last post on this blog, you’ll know why 😉 )
Ingredients
- 4 lb pears, peeled, cored and diced
- juice of 3 lemons
- 1 1/4 cups water
- about 5 1/2 cups sugar
- 1 vanilla bean, slit open
Directions
- In a large pan, combine pears, water, lemon juice and vanilla bean. Bring to a boil, cover and simmer for 10 minutes, uncover pan and continue cooking for another 15-20 minutes, or until the pears are very soft.
- Remove vanilla bean and gently scrape out any seeds into the pan, using the rounded tip of a knife.
- Using a submersion blender*, and puree. You could also use your blender or food processor. Then press the resulting puree through a fine meshed strainer into a bowl.
- Measure puree into a large pan, adding 1 cup warmed sugar for every 2 cups of puree.
- Stir mixture over low heat until the sugar dissolves then increase the heat and boil for 15 minutes or more, stirring, until mixture becomes a thick puree and holds its shape when a little is spooned onto a cold plate.
- Spoon boiling pear butter into small, sterilized jars, being careful not to get burned, leaving 1/2″ head space. Immediately seal. After cooled off, check for seal, label and store in a cool, dark place for a minimum of 2 days before serving for flavors to blend.
- Keeps for 3 months, refrigerate once opened.
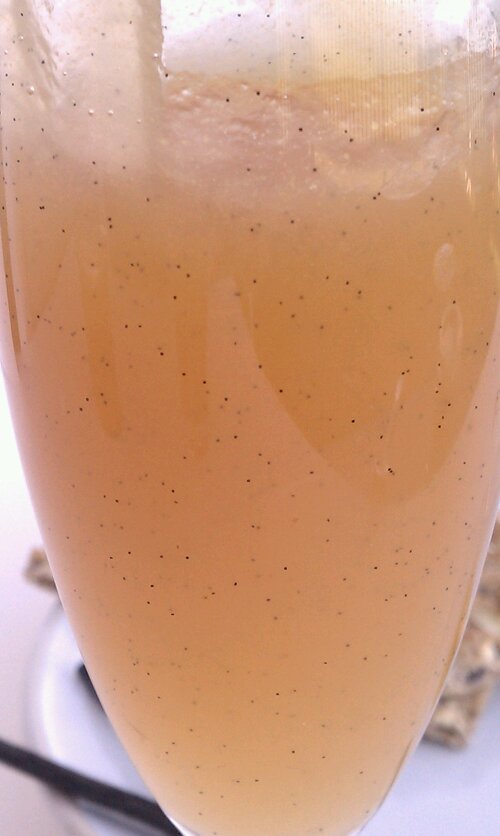
Close up.. Mmmmh see the Vanilla seeds?


